This mousy pattern is distinguished with its signature triangular butt. Once you see that butt shape you cannot unsee it. It’s simple, fast and best of all...cute!
Do you see it?Material
- 3mm crochet hook
- DK yarn in color of choice
- 8mm safety eyes
- Tiny little nose, or a single 6mm safety eye (to use as a round nose) or just embroider or needle felt the cute nose
- Tapestry needle
- Stuffing
Abbreviations (US)
- MC: magic circle
- 2-sc inc: 2 sc in next st (increase by 1)
- 3-sc inc: 3 sc in next st (increase by 2)
- sc2tog: 2 sc together (decrease by 1)
- sc3tog: 3 sc together (decrease by 2)
- dc: Double Crochet
- ch: Chain
Instructions
This pattern is made in a spiral of continuous rounds
Body (make 1)
|
Row # |
Instructions |
Sts |
|
R1 |
3-sc MC |
3 |
|
R2 |
3-sc inc × 3 |
9 |
|
R3 |
sc, 3-sc inc, [sc × 2, 3-sc inc] × 2, sc |
15 |
|
R4 |
sc × 2, 3-sc inc, [sc × 4, 3-sc inc] × 2, sc × 2 |
21 |
|
R5 |
sc × 3, 3-sc inc, [sc × 6, 3-sc inc] × 2, sc × 3 |
27 |
|
R6 |
sc × 4, 3-sc inc, [sc × 8, 3-sc inc] × 2, sc × 4 |
33 |
|
R7 |
sc × 5, sc2tog, [sc × 9, sc2tog] × 2, sc × 4 |
30 |
|
R8-9 |
sc × 30 |
30 |
|
R10 |
sc × 4, sc3tog, [sc × 7, sc3tog] × 2, sc × 3 |
24 |
|
R11 |
sc × 24 |
24 |
|
R12 |
sc × 3, sc3tog, [sc × 5, sc3tog] × 2, sc × 2 |
18 |
|
R13 |
sc × 18 |
18 |
|
R14 |
sc × 2, sc3tog, [sc × 3, sc3tog] × 2, sc |
12 |
|
R15 |
sc × 12 |
12 |
|
Stuff the back of the body well (you may need to use the back of your crochet hook here to assist with stuffing from a narrow opening). Place the eyes between R13 and R14 on either side of the mouse body with 6 stitch holes between them at the top. See pictures for reference. Then stuff again in front of the eyes before you continue. |
||
|
R16 |
[sc, sc3tog] × 3 |
6 |
Finish off, but don’t sew the ends together just yet!
Insert the safety nose into the open gap then sew in the ends together around the safety nose. You may find that you need to glue it in to secure it. Mine didn’t need it. (Be careful if you are gifting this to a small child use embroidered noses and eyes instead as they are safer in case they get loose)
Important tip for any amigurumi you make:
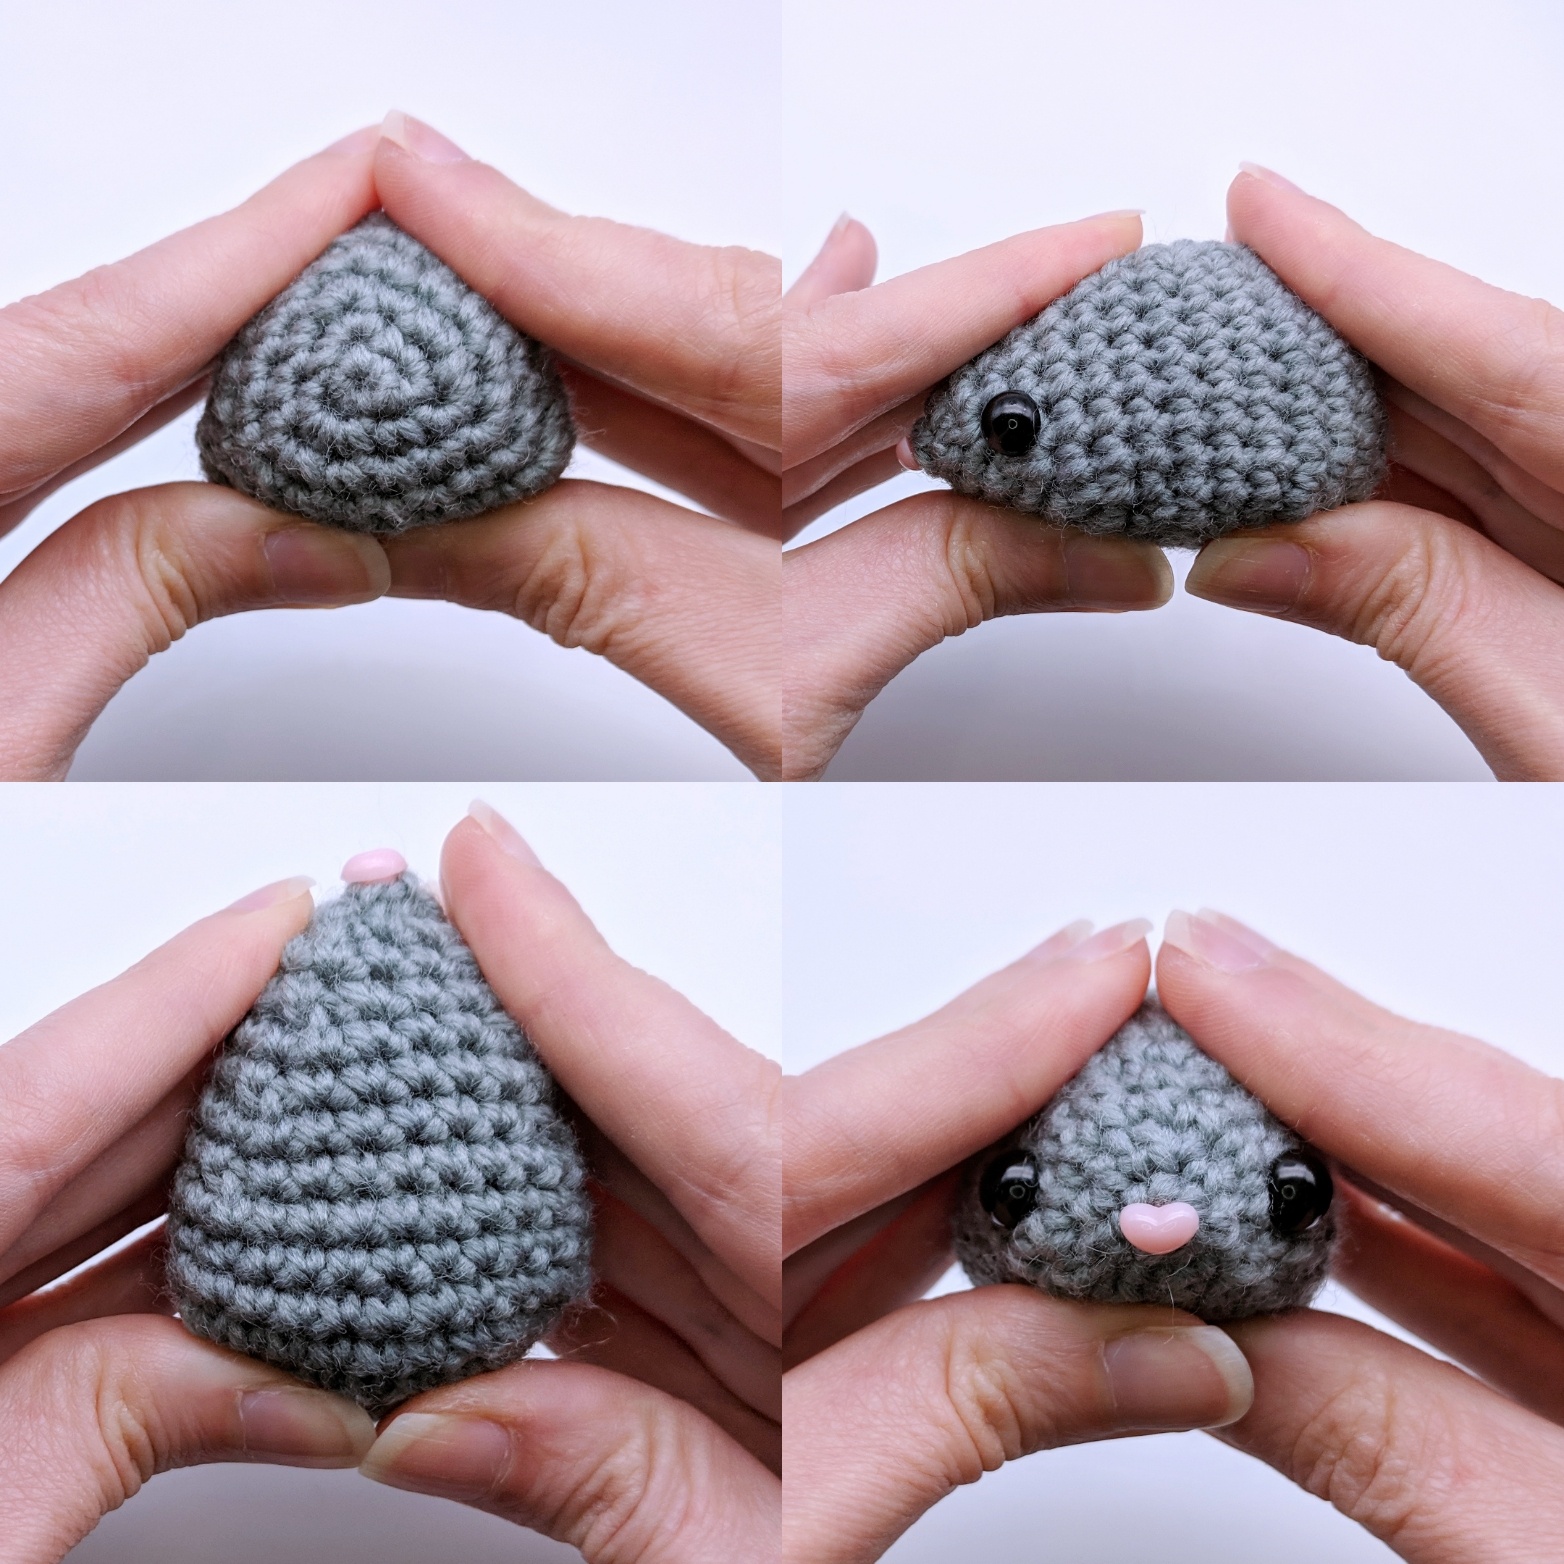
Shape the stuffed body by pressing firmly on its sides to resemble the shape you are trying to achieve. Stuffed amigurumi shapes are like a rubbery piece of clay that can actually be shaped quite a bit! Always take advantage of that fact.
This tip is particularly important for this mouse to achieve that cute triangular butt (I hope it doesn't turn into a new unattainable beauty trend! 😁)
See pictures as a reference on how I shape the mouse body:
Ears (make 2)
|
Row # |
Instructions |
Sts |
|
R1 |
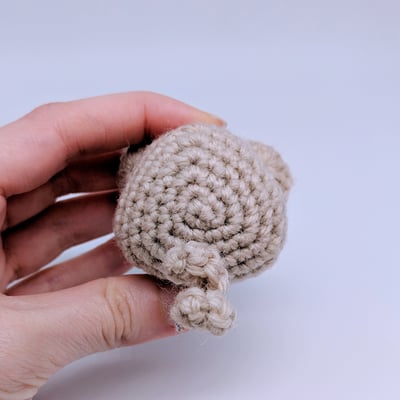
A magic circle using Double Crochet instead of a Single Crochet 7-dc MC Your goal is to end up with a half circle (see picture) |
7 |
Finish off. Leave long tail
Tail (make 1)
You can either do the tail separately and then attach it to the body, or just crochet it starting from the body to avoid having to use the tapestry needle to attach it later. Your choice!
If you choose to crochet the tail on the body directly: You do this by inserting the hook into the loop at the middle between R4 and R5 at the bottom of the butt. Then following the instructions below:
|
Row # |
Instructions |
Sts |
|
R1 |
12 ch (feel free to make the tail longer if you wish!) |
12 |
|
R2 |
sc × 11 |
11 |
Finish off. Leave long tail.
Assembly
Using a tapestry needle:
- Attach the mouse tail at the back of the body and below the butt between R4 and R5.
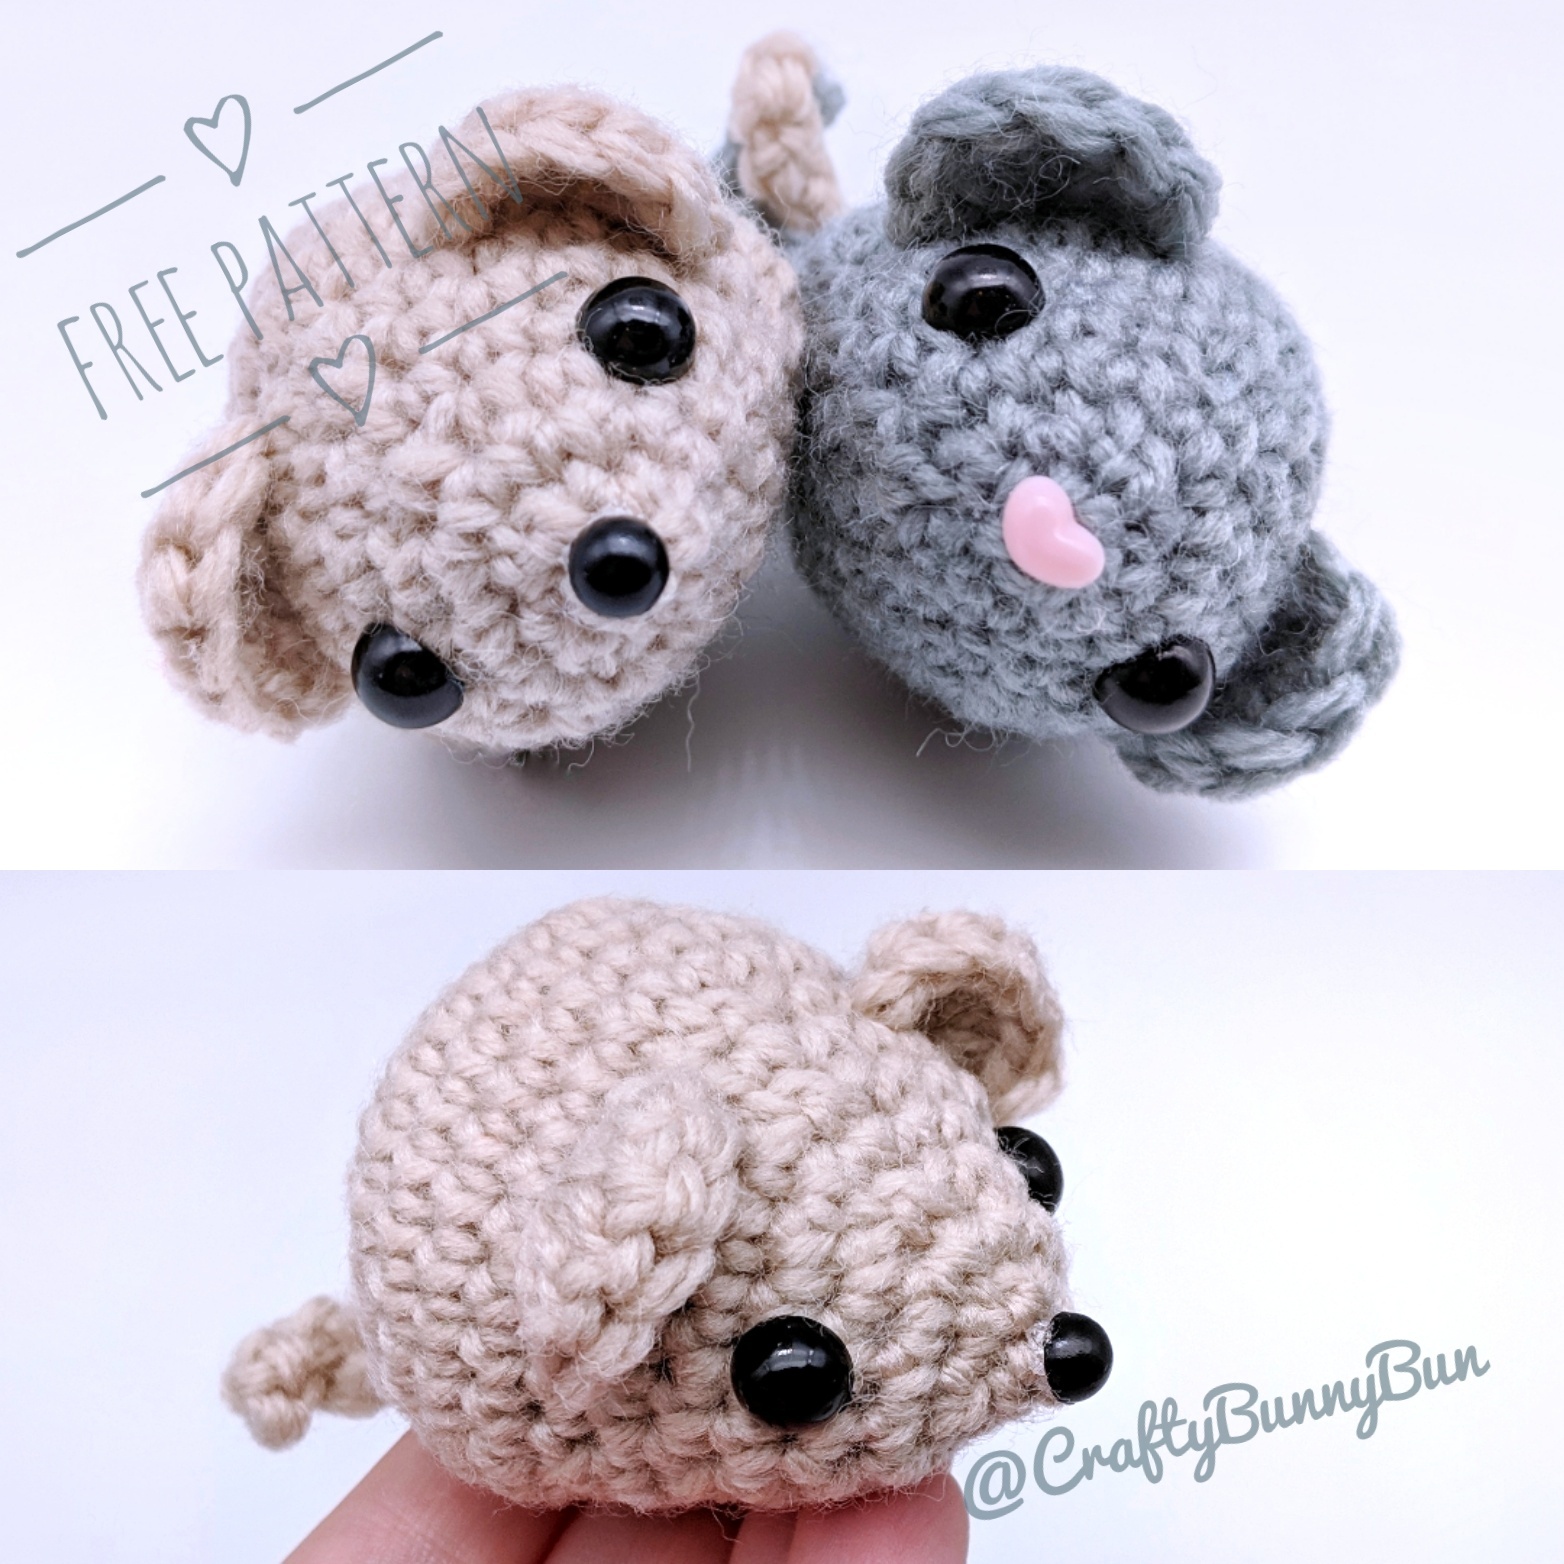
- Make sure each ear is flipped on the right side before attaching. Attach the ears to each side between R10 and R11. The bottom side of the ear will roughly align with the eye level. See pictures for reference






 Licensed under