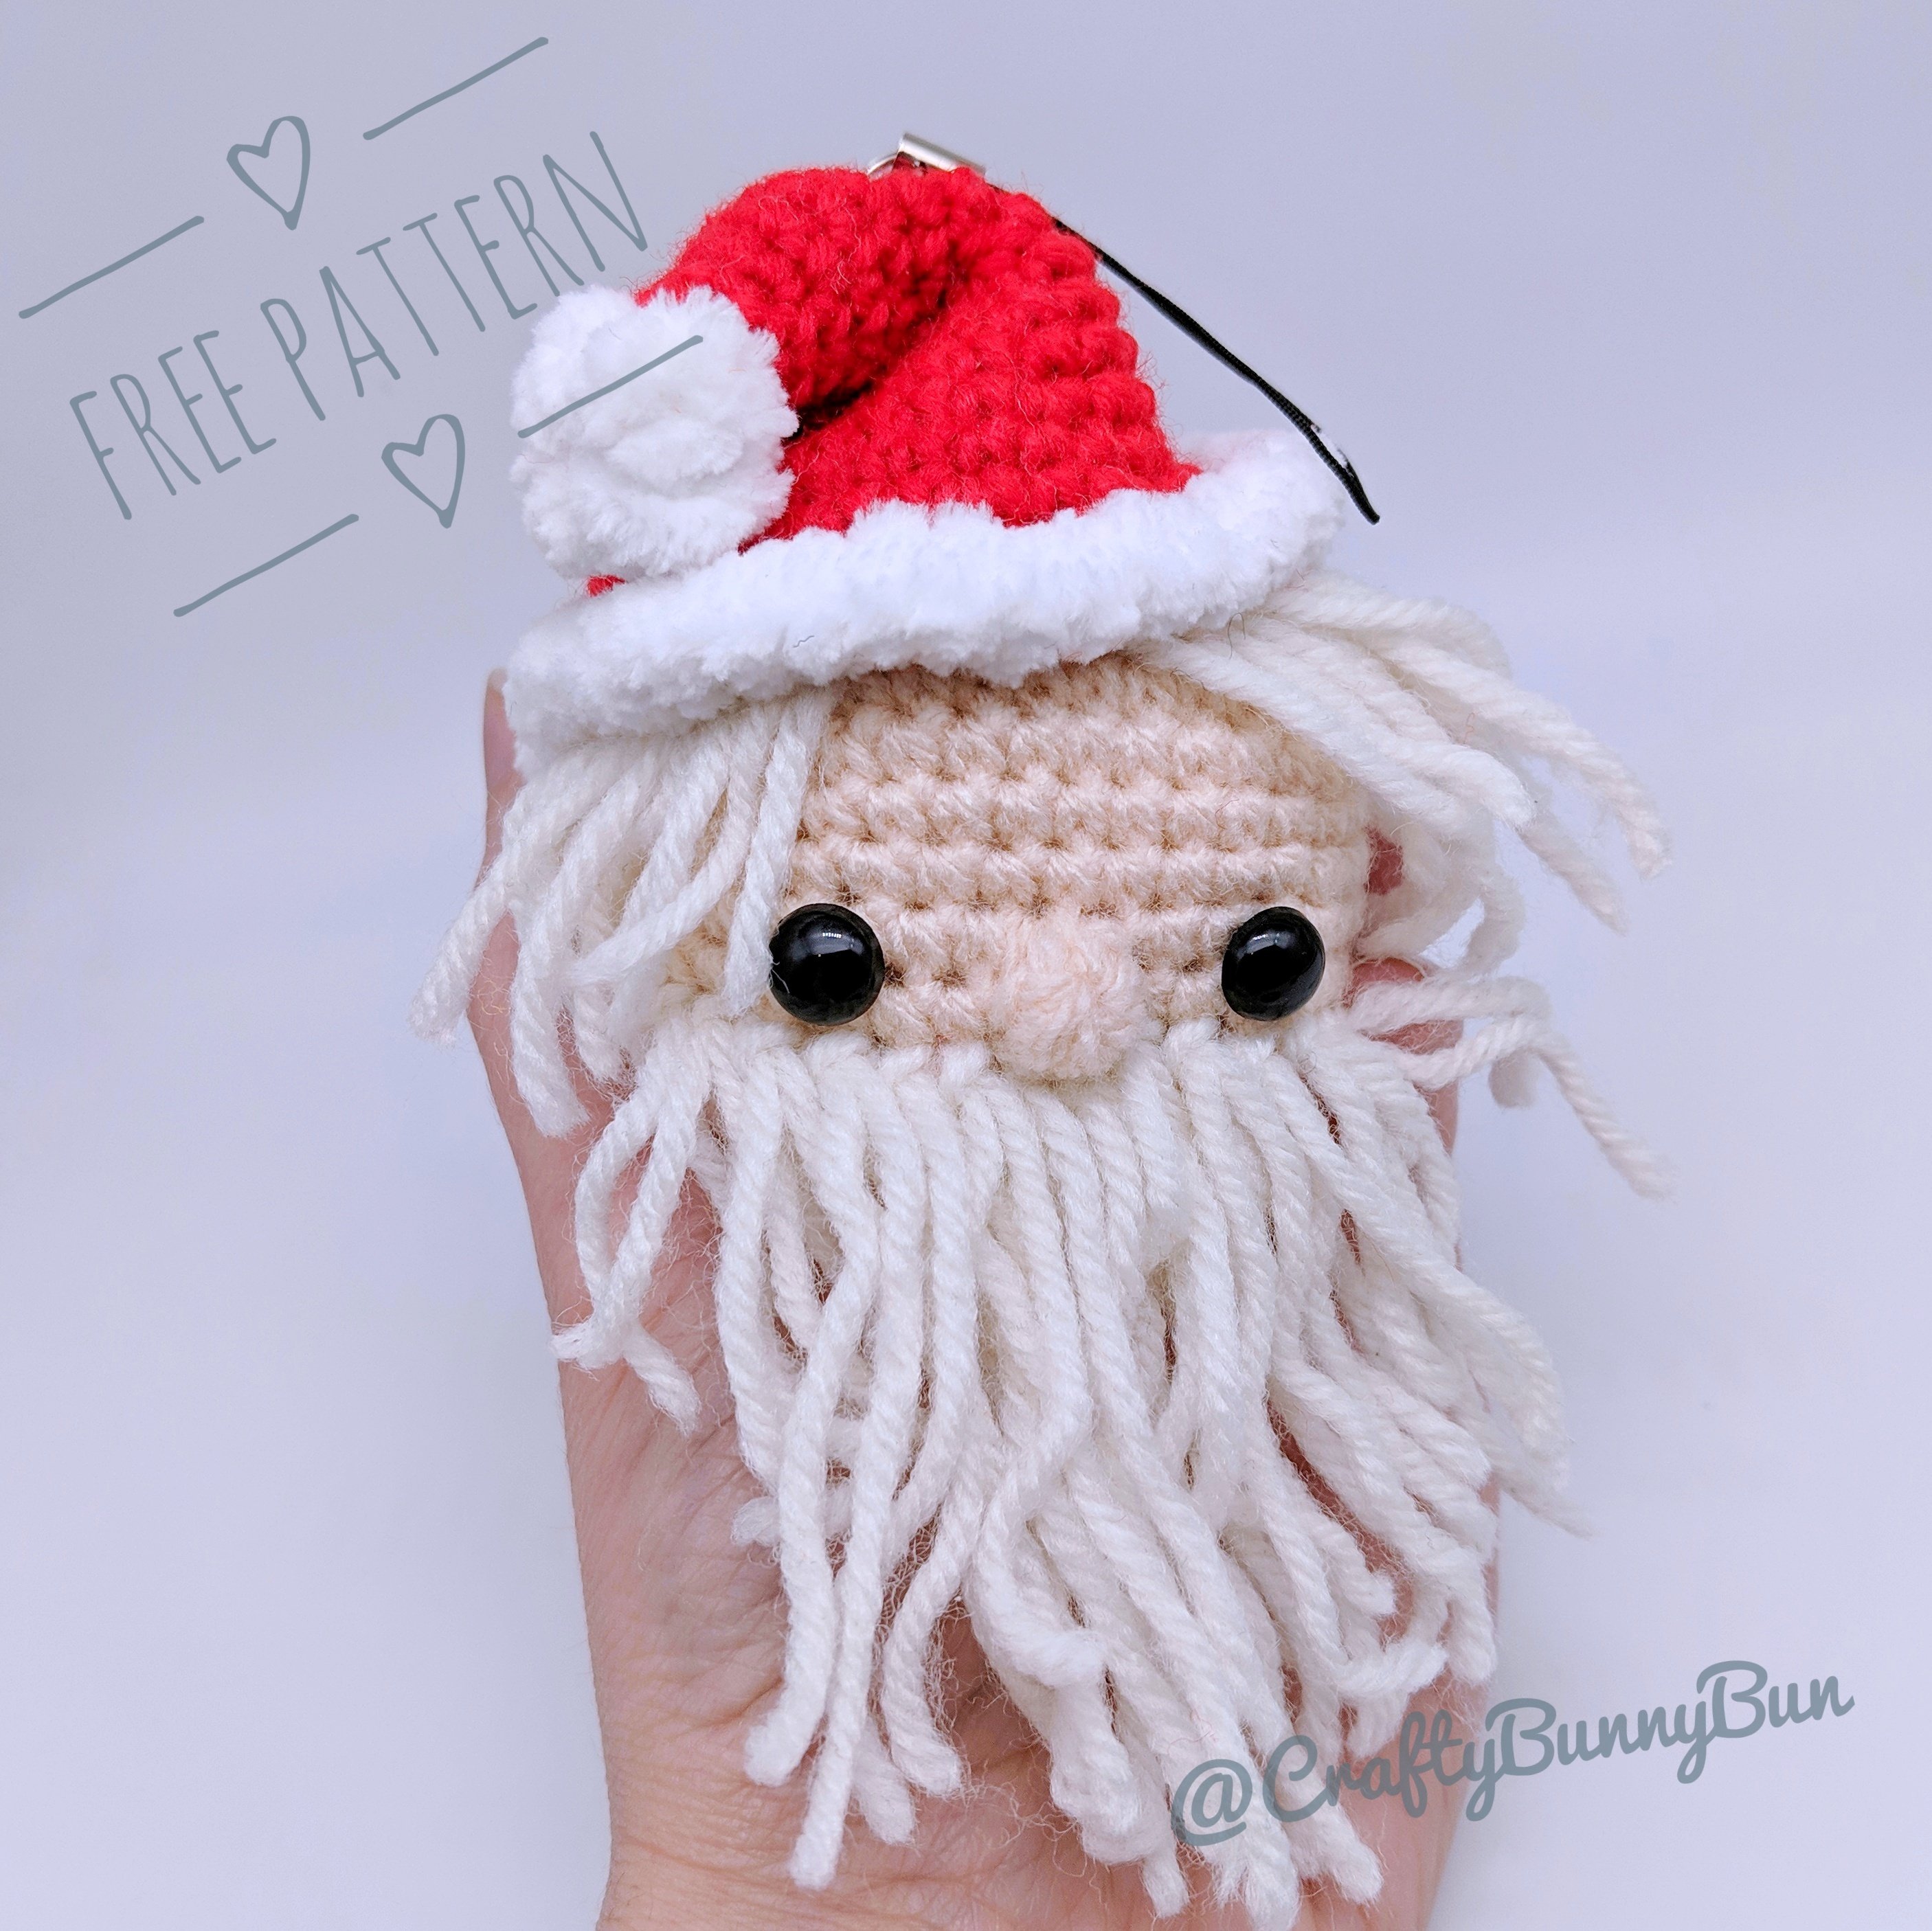
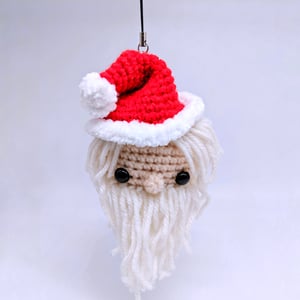
Santa is here and he is excited to meet you all! He is happy to chill on your Christmas Tree or be attached to your bag to join you on your walks.
This pattern has  on Ravelry.
Material
- 3mm crochet hook
- DK yarn in red, white and beige
- Fluffy white yarn. I used chunky white chenille yarn.
- 8mm safety eyes
- Tapestry needle
- Stuffing
Abbreviations (US)
- MC: magic circle/ring
- st: stitch
- 2-sc inc: 2 sc in next stitch (increase by 1)
- 3-sc inc: 3 sc in next stitch (increase by 2)
- sc2tog: 2 sc together (decrease by 1)
- sc3tog: 3 sc together (decrease by 2)
Instructions
This pattern is made in a spiral of continuous rounds
Body (make 1)
|
Row # |
Instructions |
Sts |
|
R1 |
4-sc MC |
4 |
|
R2 |
3-sc inc × 4 |
12 |
|
R3 |
sc, 3-sc inc, [sc × 2, 3-sc inc] × 3, sc |
20 |
|
R4 |
sc × 2, 3-sc inc, [sc × 4, 3-sc inc] × 3, sc × 2 |
28 |
|
R5 |
sc × 3, 3-sc inc, [sc × 6, 3-sc inc] × 3, sc × 3 |
36 |
|
R6 |
sc × 4, 3-sc inc, [sc × 8, 3-sc inc] × 3, sc × 4 |
44 |
|
R7 |
sc × 5, sc2tog, [sc × 9, sc2tog] × 3, sc × 4 |
40 |
|
R8-13 |
sc × 40 |
40 |
|
R14 |
sc × 4, sc3tog, [sc × 7, sc3tog] × 3, sc × 3 |
32 |
|
R15 |
sc × 3, sc3tog, [sc × 5, sc3tog] × 3, sc × 2 |
24 |
|
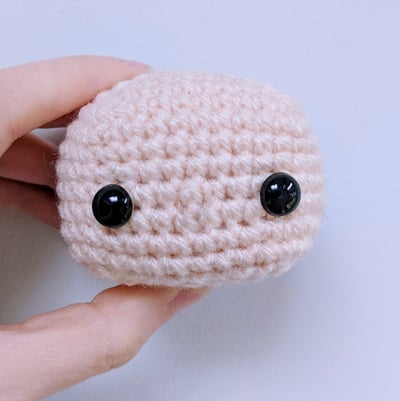
Place the eyes between R10 and R11 with 6 stitch holes between them. See pictures for reference. Stuff well! |
||
|
R16 |
sc × 2, sc3tog, [sc × 3, sc3tog] × 3, sc |
16 |
|
R17 |
[sc, sc3tog] × 4 |
8 |
Finish off, sew the ends together to close the gap with the tapestry needle.

Important tip for any amigurumi you make:
Shape the stuffed body by pressing firmly on its sides to resemble the shape you are trying to achieve. Stuffed amigurumi shapes are like a rubbery piece of clay that can actually be shaped quite a bit! Always take advantage of that fact.
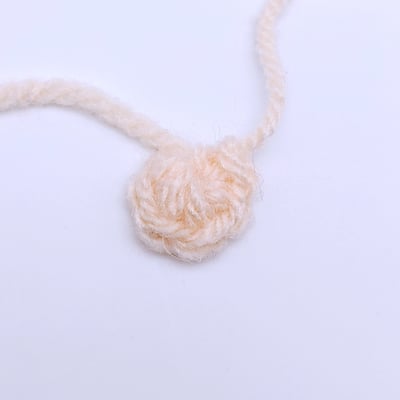
Nose (make 1)
|
Row # |
Instructions |
Sts |
|
R1 |
5-sc MC |
5 |
Do one slip stitch at the end, then finish off. Leave long tail. Stuff
Attach Nose on R10 and R11 between the eyes
Santa Hat (make 1)
With Red Yarn:
| Row# | Instructions | Sts |
| R1 | 5-sc MC | 5 |
| R2 | 2-sc inc, [sc, 2-sc inc] × 2 | 8 |
| R3 | sc × 8 | 8 |
| R4 | [2-sc inc, sc × 3] × 2 | 10 |
| R5 | sc × 10 | 10 |
| R6 | [2-sc inc, sc × 4] × 2 | 12 |
| R7 | sc × 12 | 12 |
| R8 | [2-sc inc, sc × 2] × 4 | 16 |
| R9 | sc × 16 | 16 |
| R10 | [2-sc inc, sc × 3] × 4 | 20 |
| R11 | sc × 20 | 20 |
| R12 | [2-sc inc, sc × 4] × 4 | 24 |
| R13 | sc × 24 | 24 |
| R14 | [2-sc inc, sc × 3] × 6 | 30 |
| R15 | sc × 30 | 30 |
| R16 | [2-sc inc, sc × 6] × 4 | 32 |
| R17 | sc × 32 | 32 |
| R18 | [2-sc inc, sc × 7] × 4 | 36 |
| R19 | sc × 36 | 36 |
| R20 | With the white chenille yarn: sc × 36 | 36 |
Do one slip stitch at the end, then finish off. Leave long tail.
Hat Pom Pom(make 1)
With the white chenille yarn:
|
Row # |
Instructions |
Sts |
|
R1 |
5-sc MC |
5 |
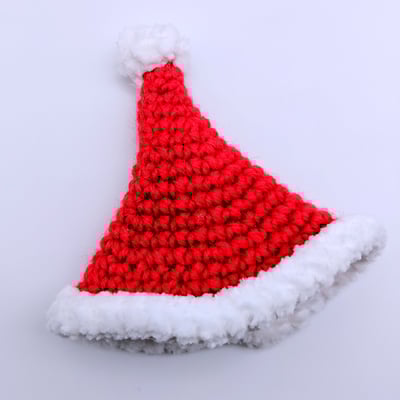
Optional: Pinch the hat with your thump and index and stitch it a couple of times to get the slouchy hat look
Attaching the Hair:
Cut several pieces of the white yarn yarn to be a little more than double the length you want the Santa's hair and beard to be (you can give Santa a haircut later so don't worry if it was too long as the start).
Fold the string of yarn on itself by half. Attach the yarn string by making a slip stitch with it on the head. If you prefer a video instruction check out this tutorial.

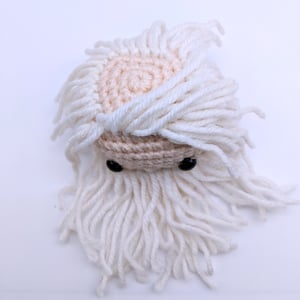
Here is a top view of how I attached the hair. The bold spot will be covered with the hat so no need to attach hair to it. I just went around the head and attached one row of hair.
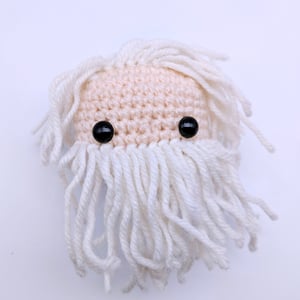
 I flip Santa's hair from the front of his face to the back as per the picture. When you sew the hat on, do so with the hair flipped underneath like this. It gives Santa a nice hair style :)
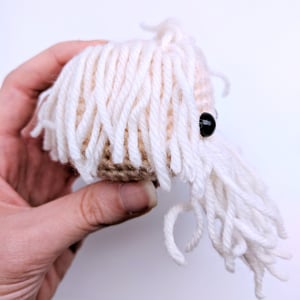 Side view
 Front view with the beard
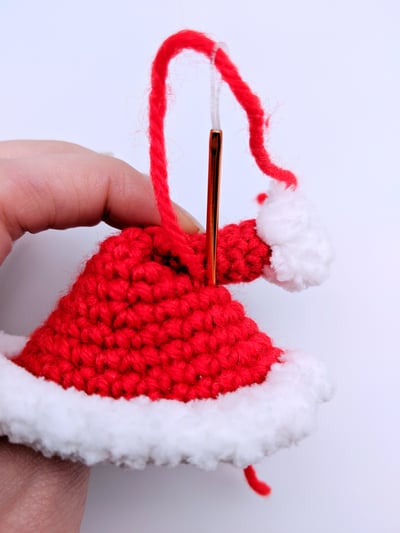
 Attach the hat at the top of the head. Finally attach a loop of yarn or string at the top so you can use it as a Christmas tree decoration
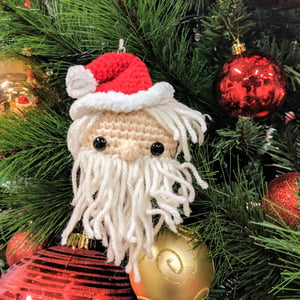
Here is little Santa chilling on a Christmas tree