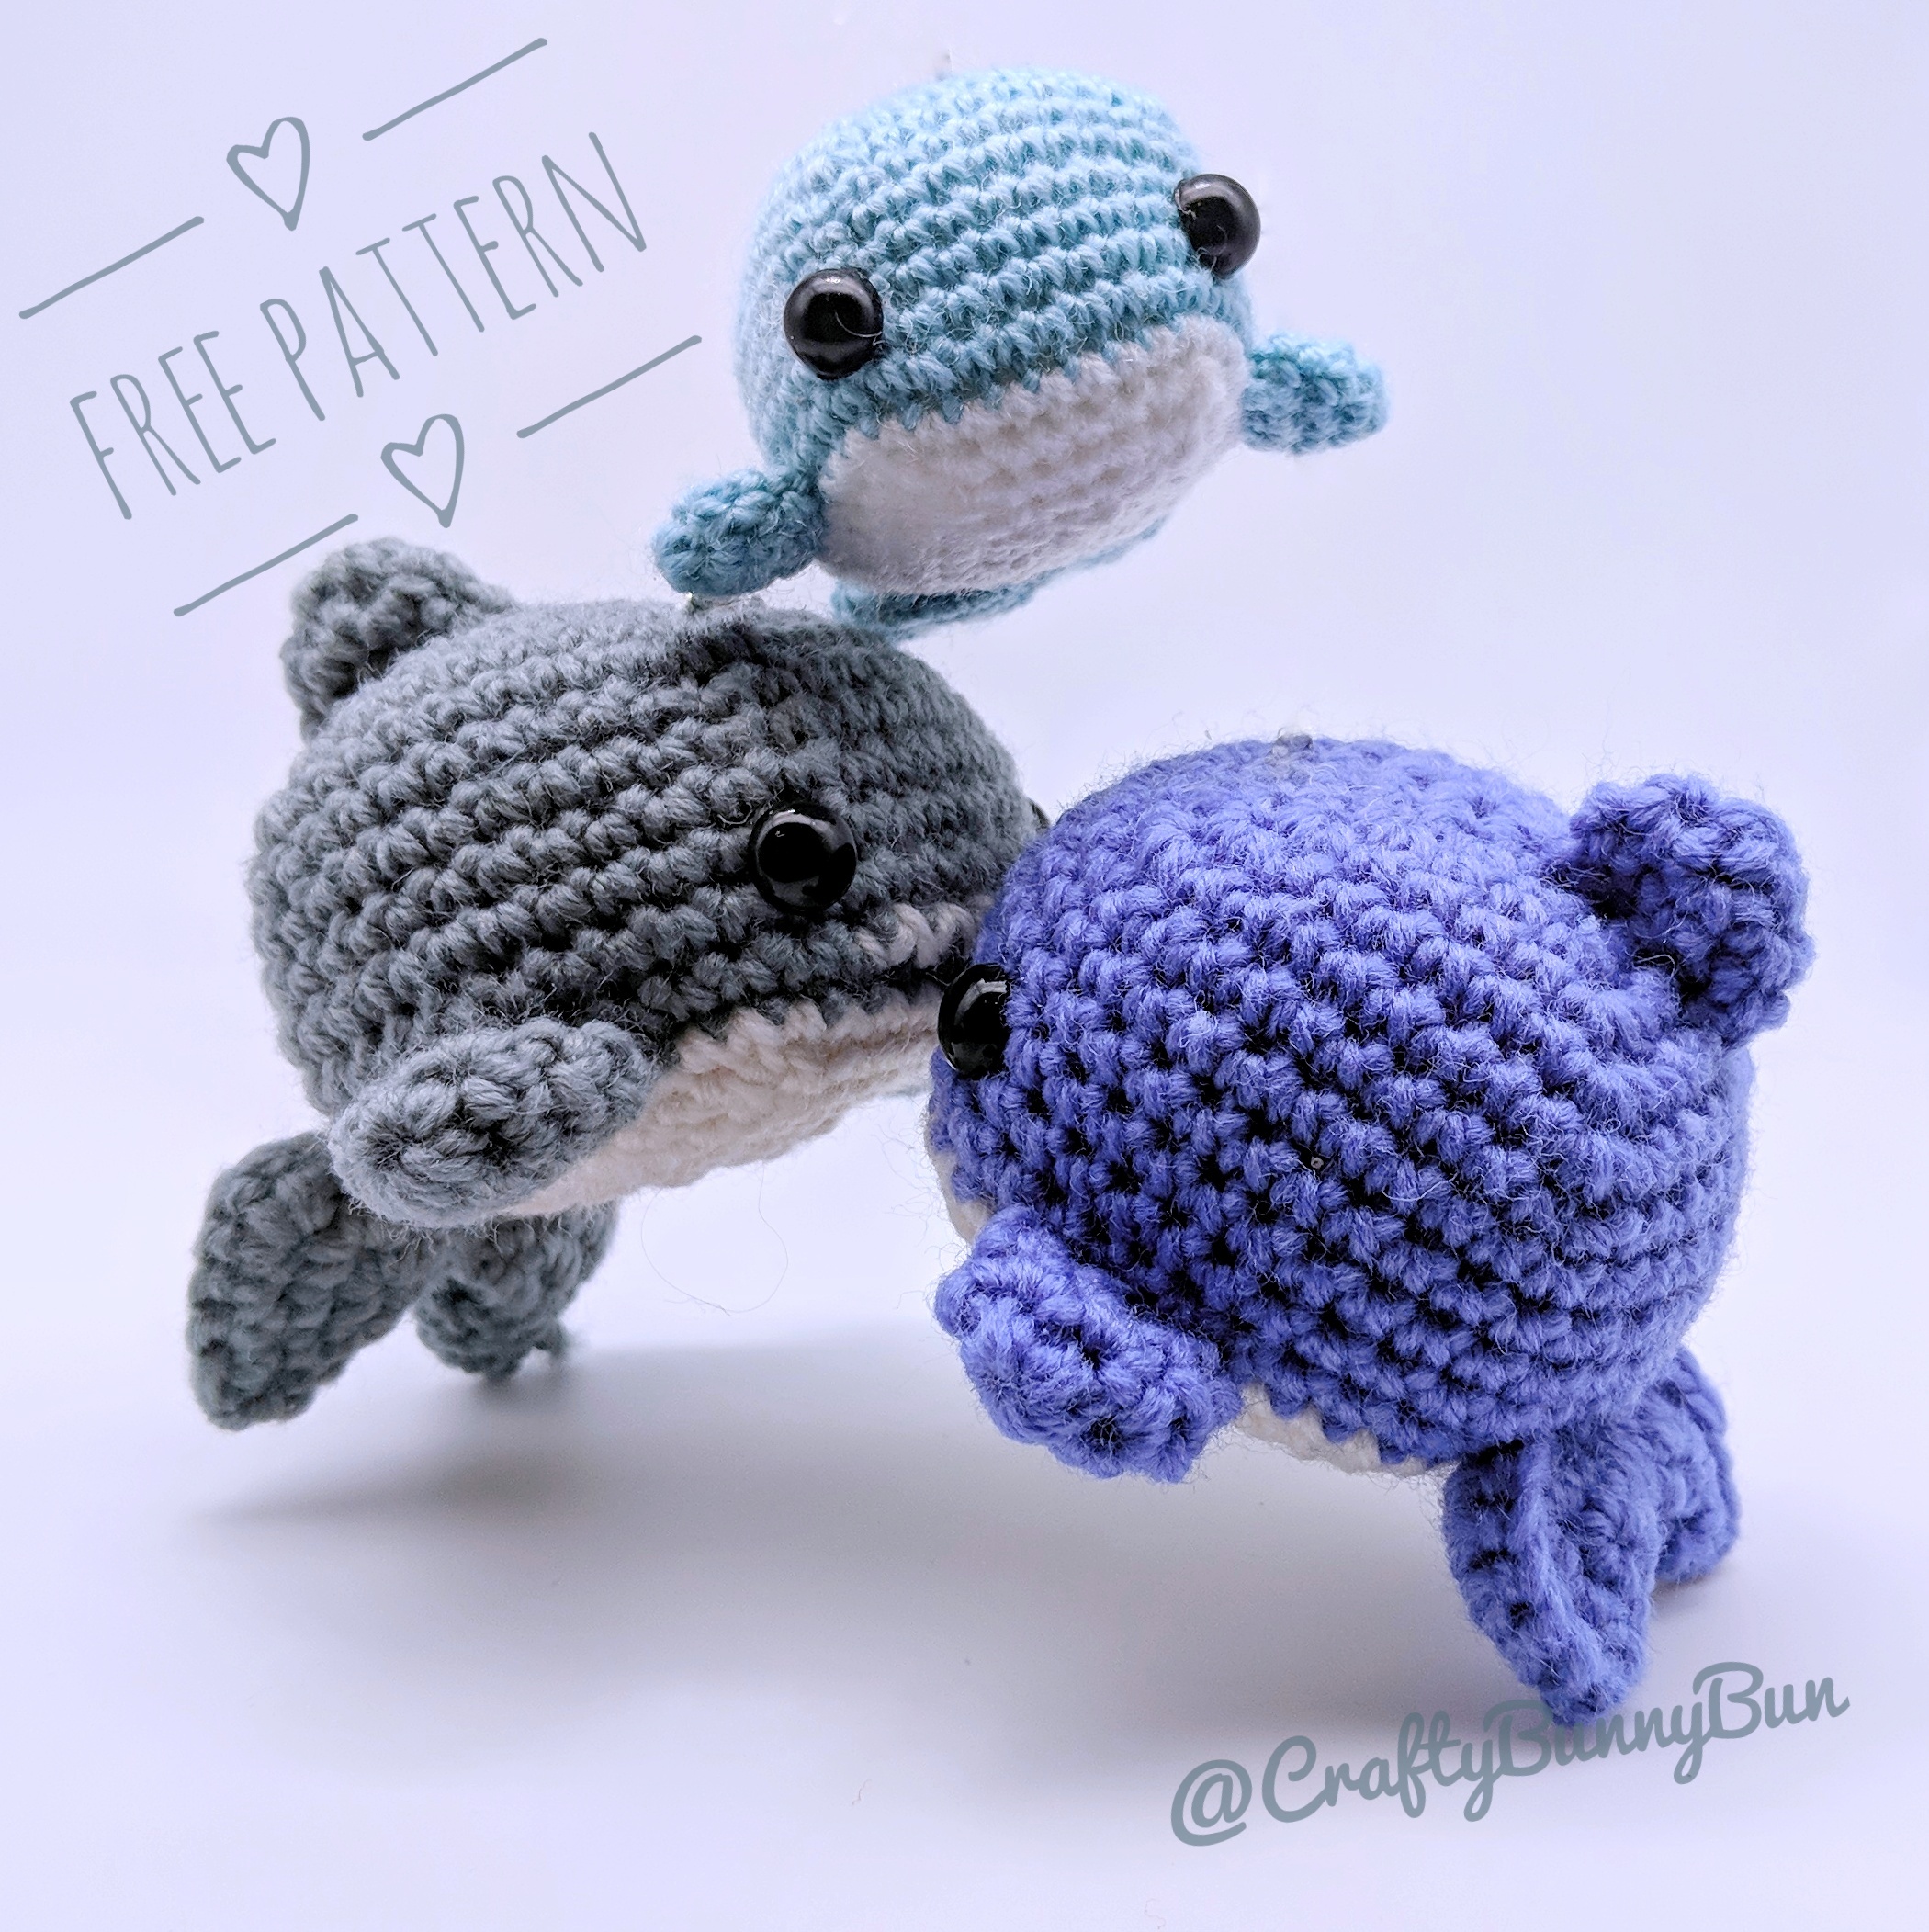
Who said that the sphere should be the first basic shape? Why not a cube :)
This pattern is a prime example why a cube can be the cutest basic shape to use. These ocean friends are so easy and quick to make while being adorably cute!
This pattern has  on Ravelry.
Material
- 3mm crochet hook
- DK yarn in color of choice
- DK yarn in white for the belly
- 8mm safety eyes
For baby versions:
- 2mm crochet hook
- 4 ply or baby yarn instead of dk
- 6mm safety eyes
Abbreviations (US)
- MC: magic circle
- 2-sc inc: 2 sc in next st (increase by 1)
- 3-sc inc: 3 sc in next st (increase by 2)
- sc2tog: 2 sc together (decrease by 1)
- sc3tog: 3 sc together (decrease by 2)
- ch: Chain
Instructions
This pattern is made in a spiral of continuous rounds
To change color, use old color to do the first yarn over, then use new color to do the last yarn over and draw through both loops on hook to complete stitch. The stitch will count toward the old color but the following stitches will have the new color.
Body (make 1)
|
Row # |
Instructions |
Sts |
|
R1 |
4-sc MC |
4 |
|
R2 |
3-sc inc × 4 |
12 |
|
R3 |
sc, 3-sc inc, [sc × 2, 3-sc inc] × 3, sc |
20 |
|
R4 |
sc × 2, 3-sc inc, [sc × 4, 3-sc inc] × 3, sc × 2 |
28 |
|
R5 |
sc × 3, 3-sc inc, [sc × 6, 3-sc inc] × 3, sc × 3 |
36 |
|
R6 |
sc × 4, 3-sc inc, [sc × 8, 3-sc inc] × 3, sc × 4 |
44 |
|
R7 |
sc × 5, sc2tog, [sc × 9, sc2tog] × 3, sc × 4 |
40 |
|
R8-12 |
sc × 40 (Do the last yarn over in the last sc with white) |
40 |
|
R13 |
Continue all the next stitches and rows with white: sc × 40 |
40 |
|
R14 |
sc × 4, sc3tog, [sc × 7, sc3tog] × 3, sc × 3 |
32 |
|
R15 |
sc × 3, sc3tog, [sc × 5, sc3tog] × 3, sc × 2 |
24 |
|
Stuff well. Place the eyes between R10 and R11 with 8 stitch holes between them. The eyes will roughly align with the edges of the square top. See pictures for reference |
||
|
R16 |
sc × 2, sc3tog, [sc × 3, sc3tog] × 3, sc |
16 |
|
R17 |
[sc, sc3tog] × 4 |
8 |
Finish off, sew the ends together to close the gap.

Tail (make 1)
With main color:
|
Row # |
Instructions |
Sts |
|
R1 |
4-sc MC |
4 |
|
R2 |
3-sc inc × 4 |
12 |
|
R3 |
sc, 3-sc inc, [sc × 2, 3-sc inc] × 3, sc |
20 |
|
R4 |
sc × 2, 3-sc inc, [sc × 4, 3-sc inc] × 3, sc × 2 |
28 |
|
R5 |
Do one more sc after R4 (don’t finish off just yet) |
|
 The result here will be a square The result here will be a square |
||
|
Then continue with the following stitches around the folded square by inserting the hook into the loops on each folded side: sc × 2, 3-sc inc, sc × 6, 3-sc inc, sc × 3 |
||
 Fold the Square on itself (see picture)
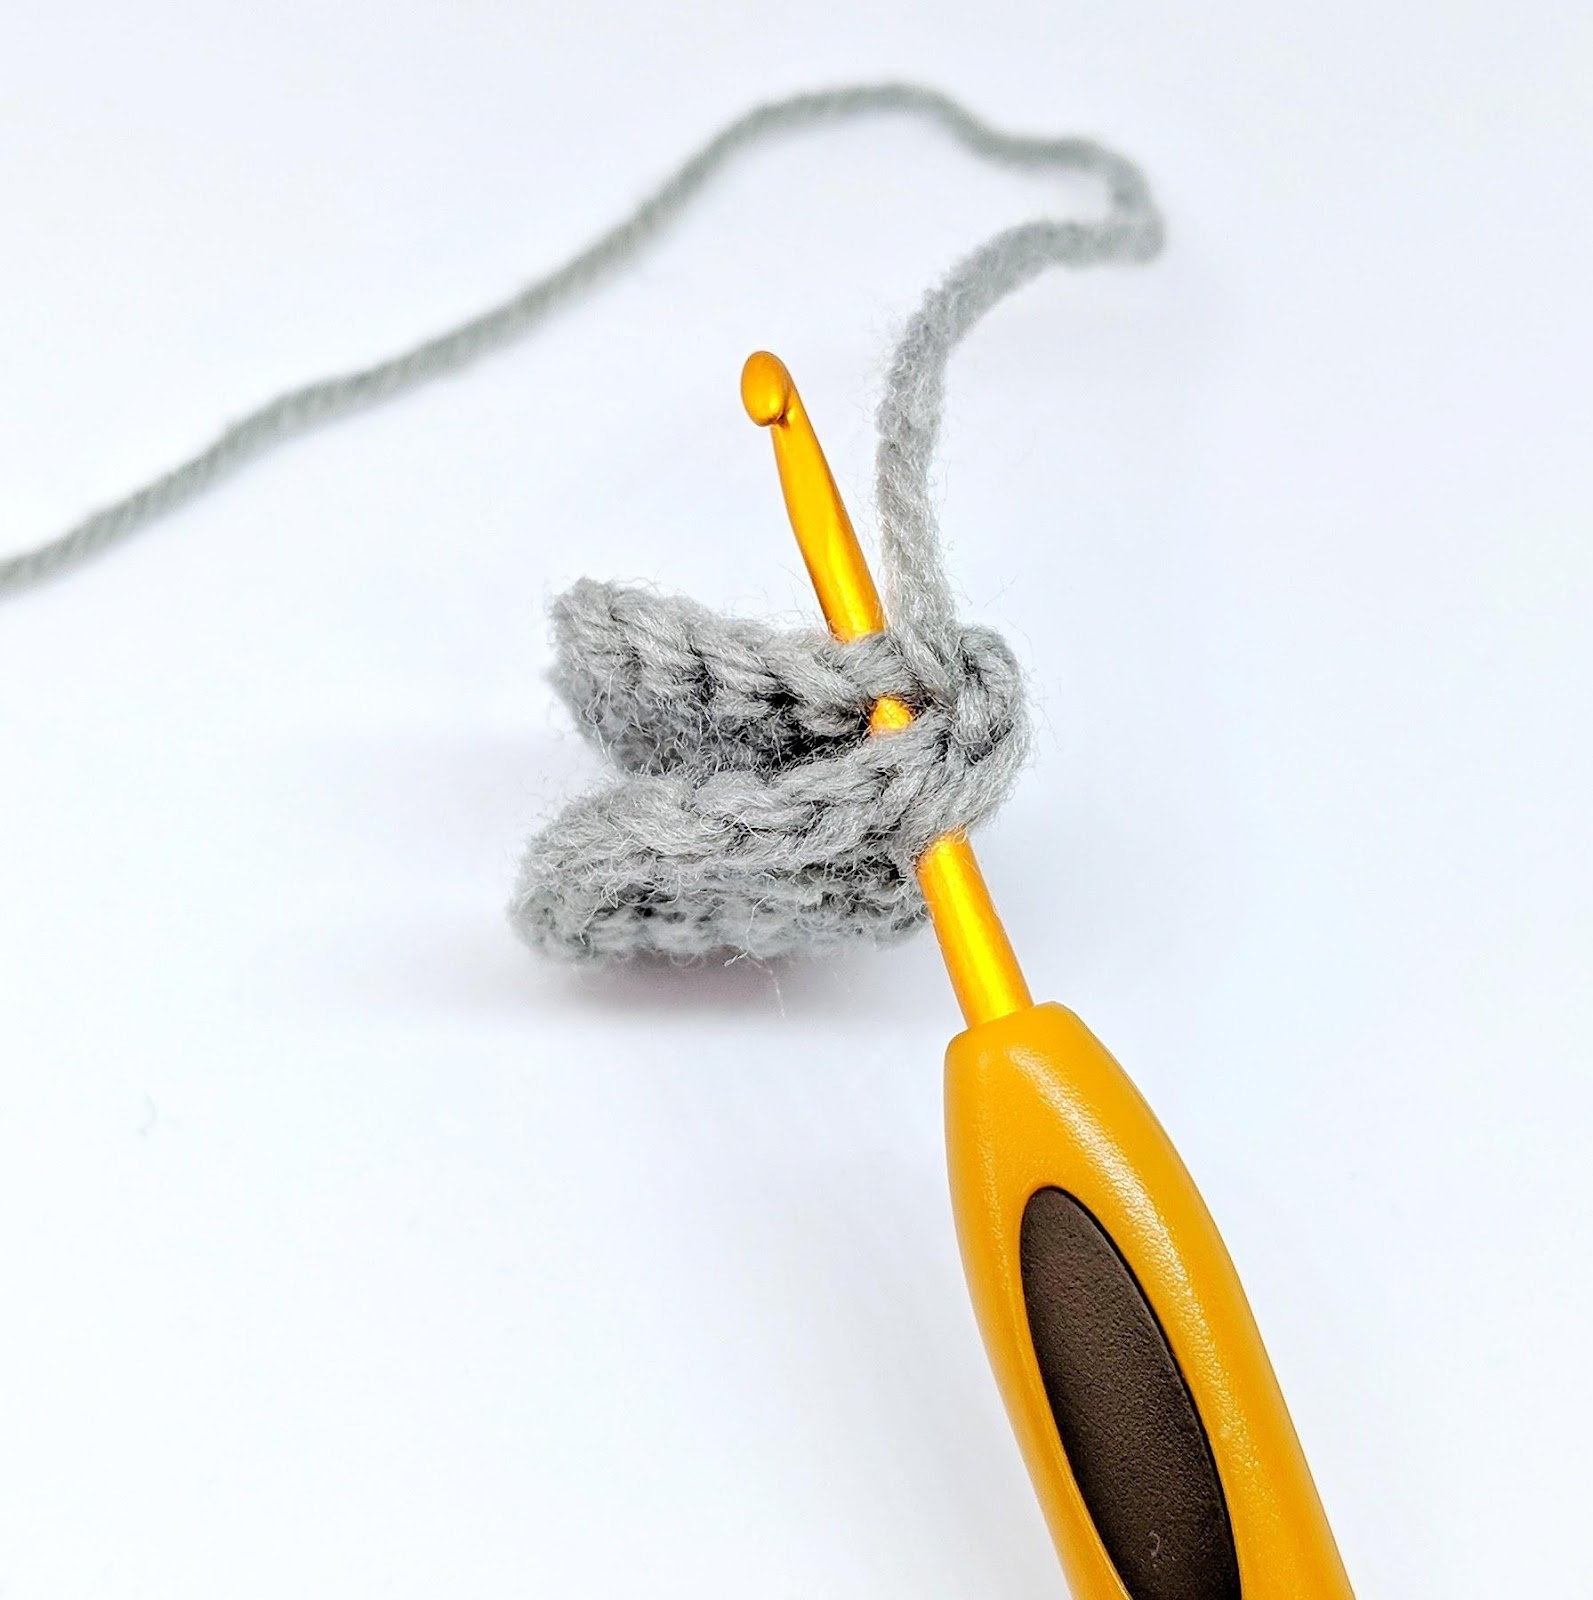
Finish off, leave a long tail

The idea is to make a bow from the rectangle. So you want to insert your needle into the other end of the rectangle from the middle and wrap it around the rectangle few times until you form a secure bow like the picture below.
Note that the bow knot is not centred but is placed toward one side of the rectangle. That side is the tail base that you will attach to the body. I indicated it blue marker below:
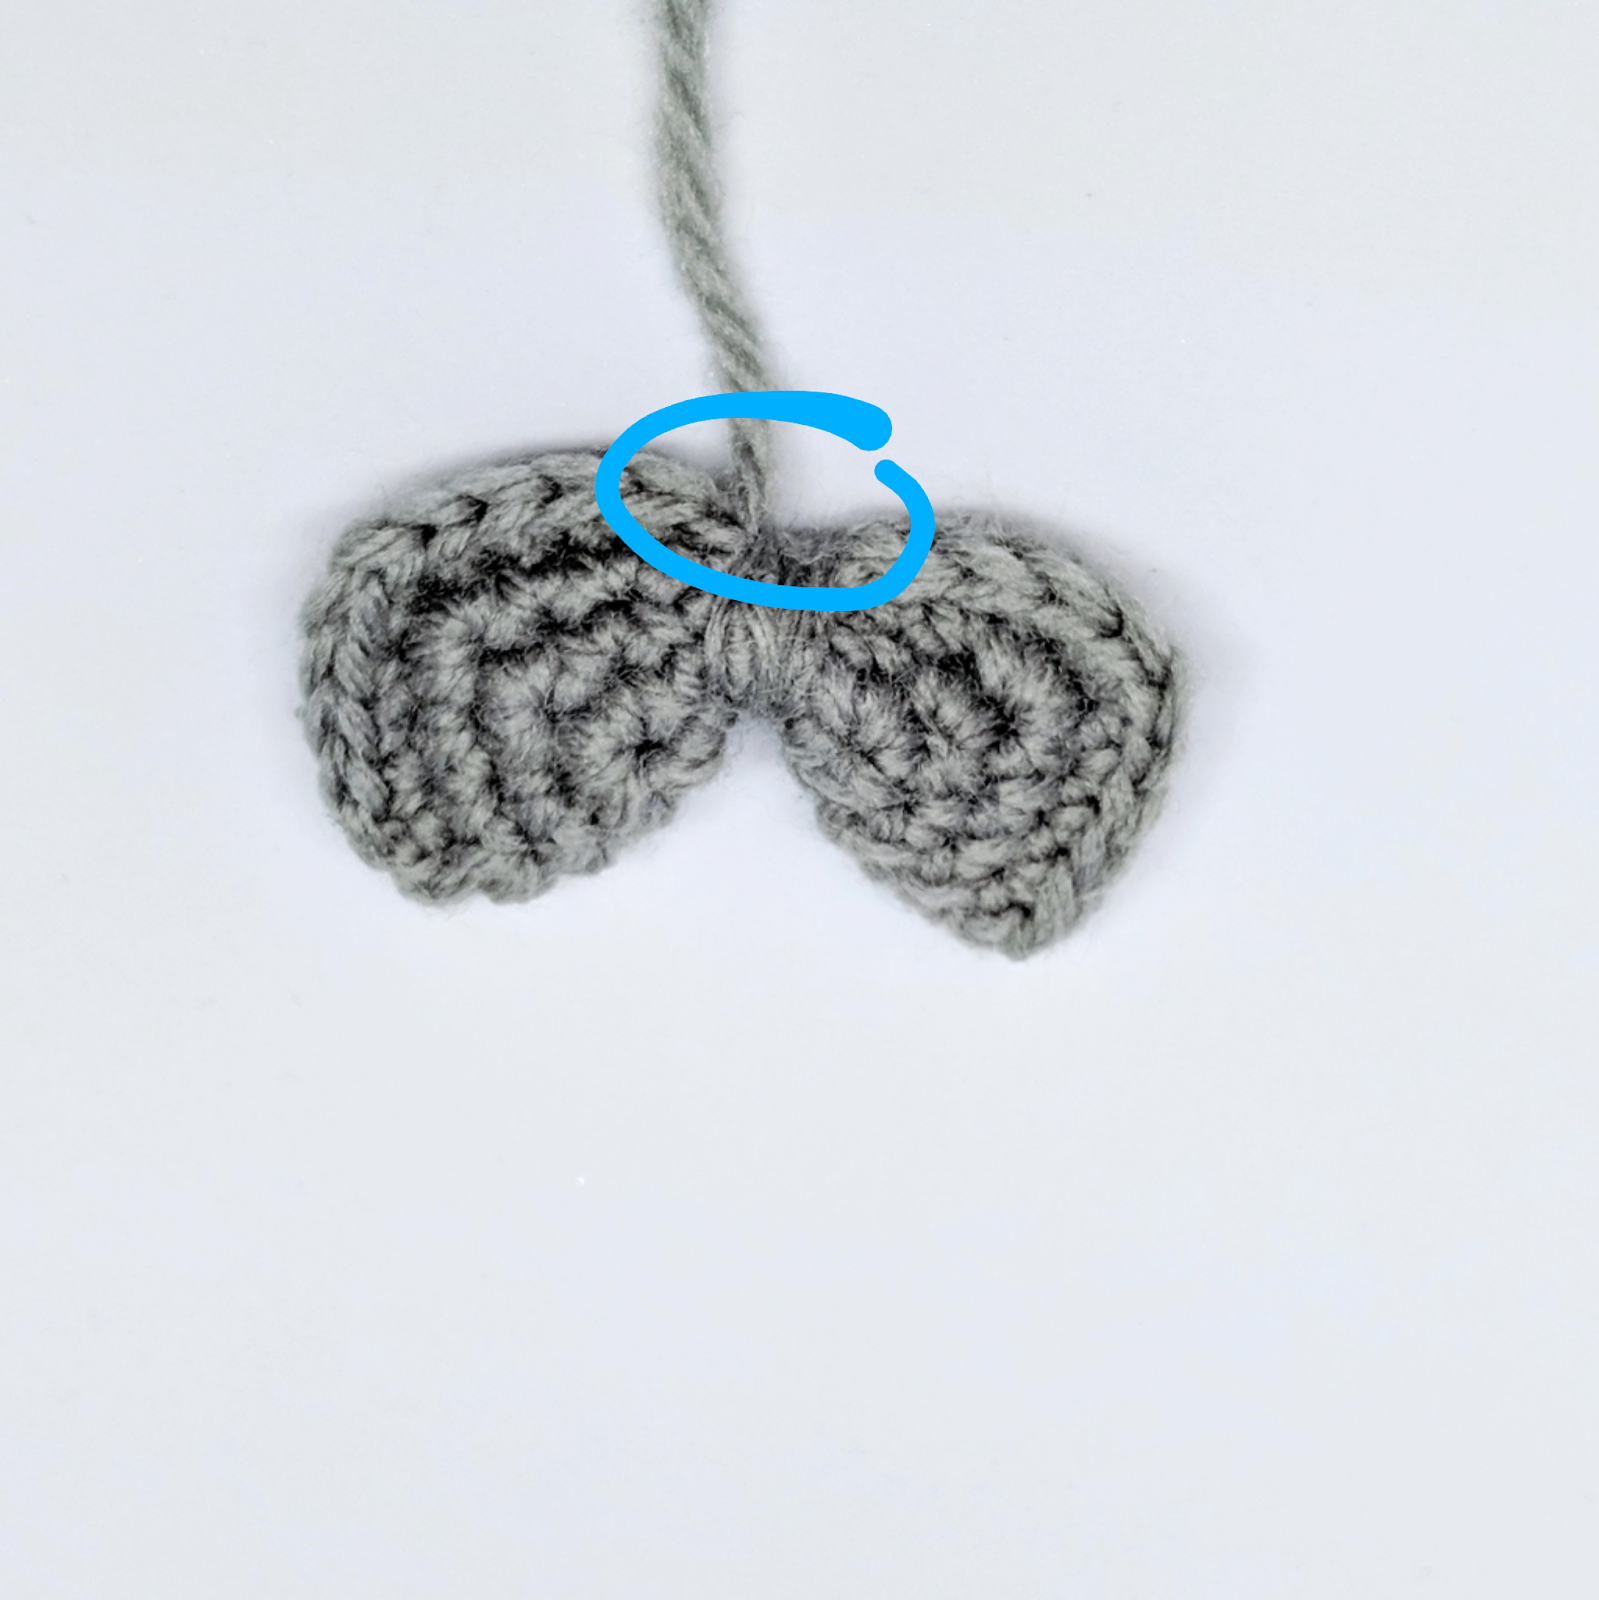
Leave a the remaining yarn tail, you’ll use it to attach the tail to the body later.
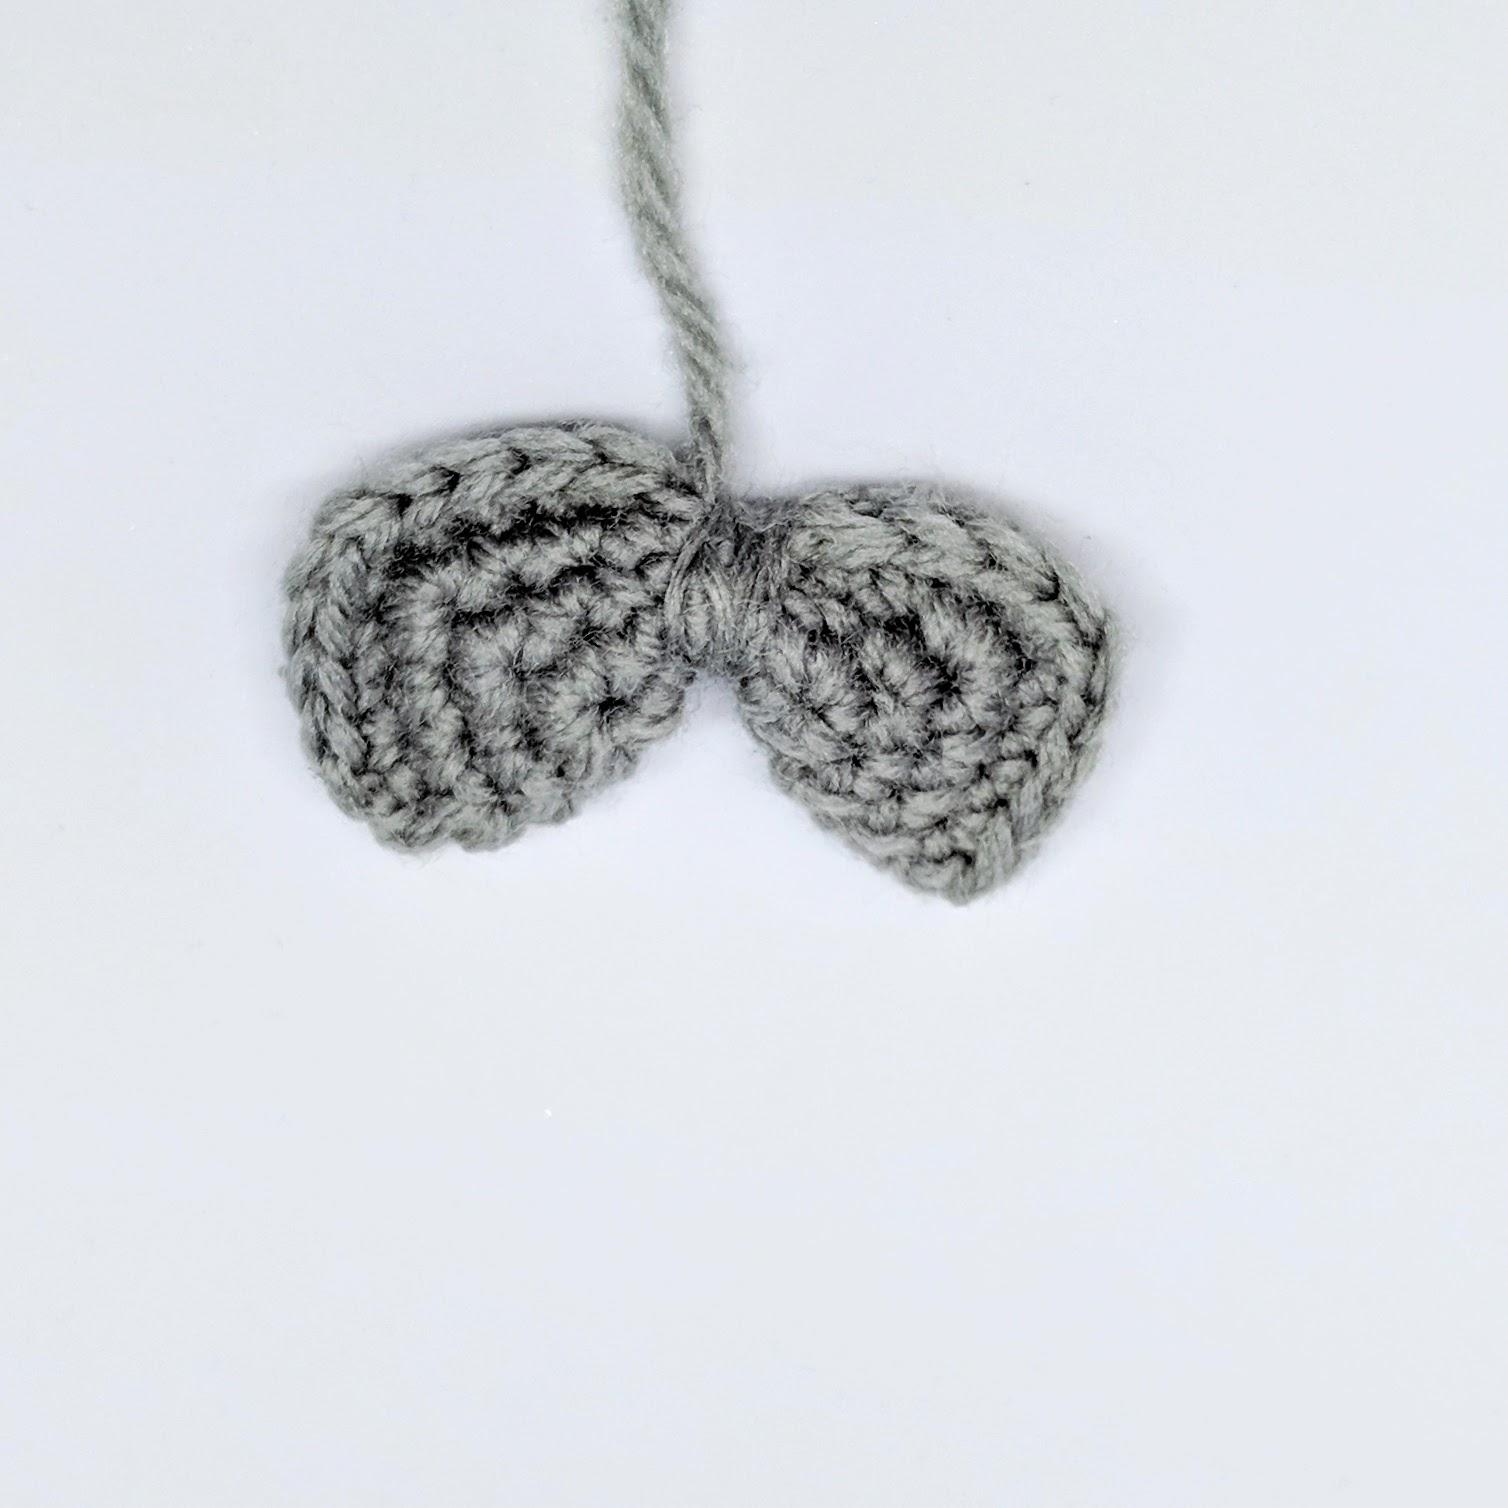
Fins (make 2)
With main color
|
Row # |
Instructions |
Sts |
|
R1 |
5-sc MC |
5 |
|
R2 |
2-sc inc × 5 |
10 |
|
R3-4 |
sc × 10 |
12 |
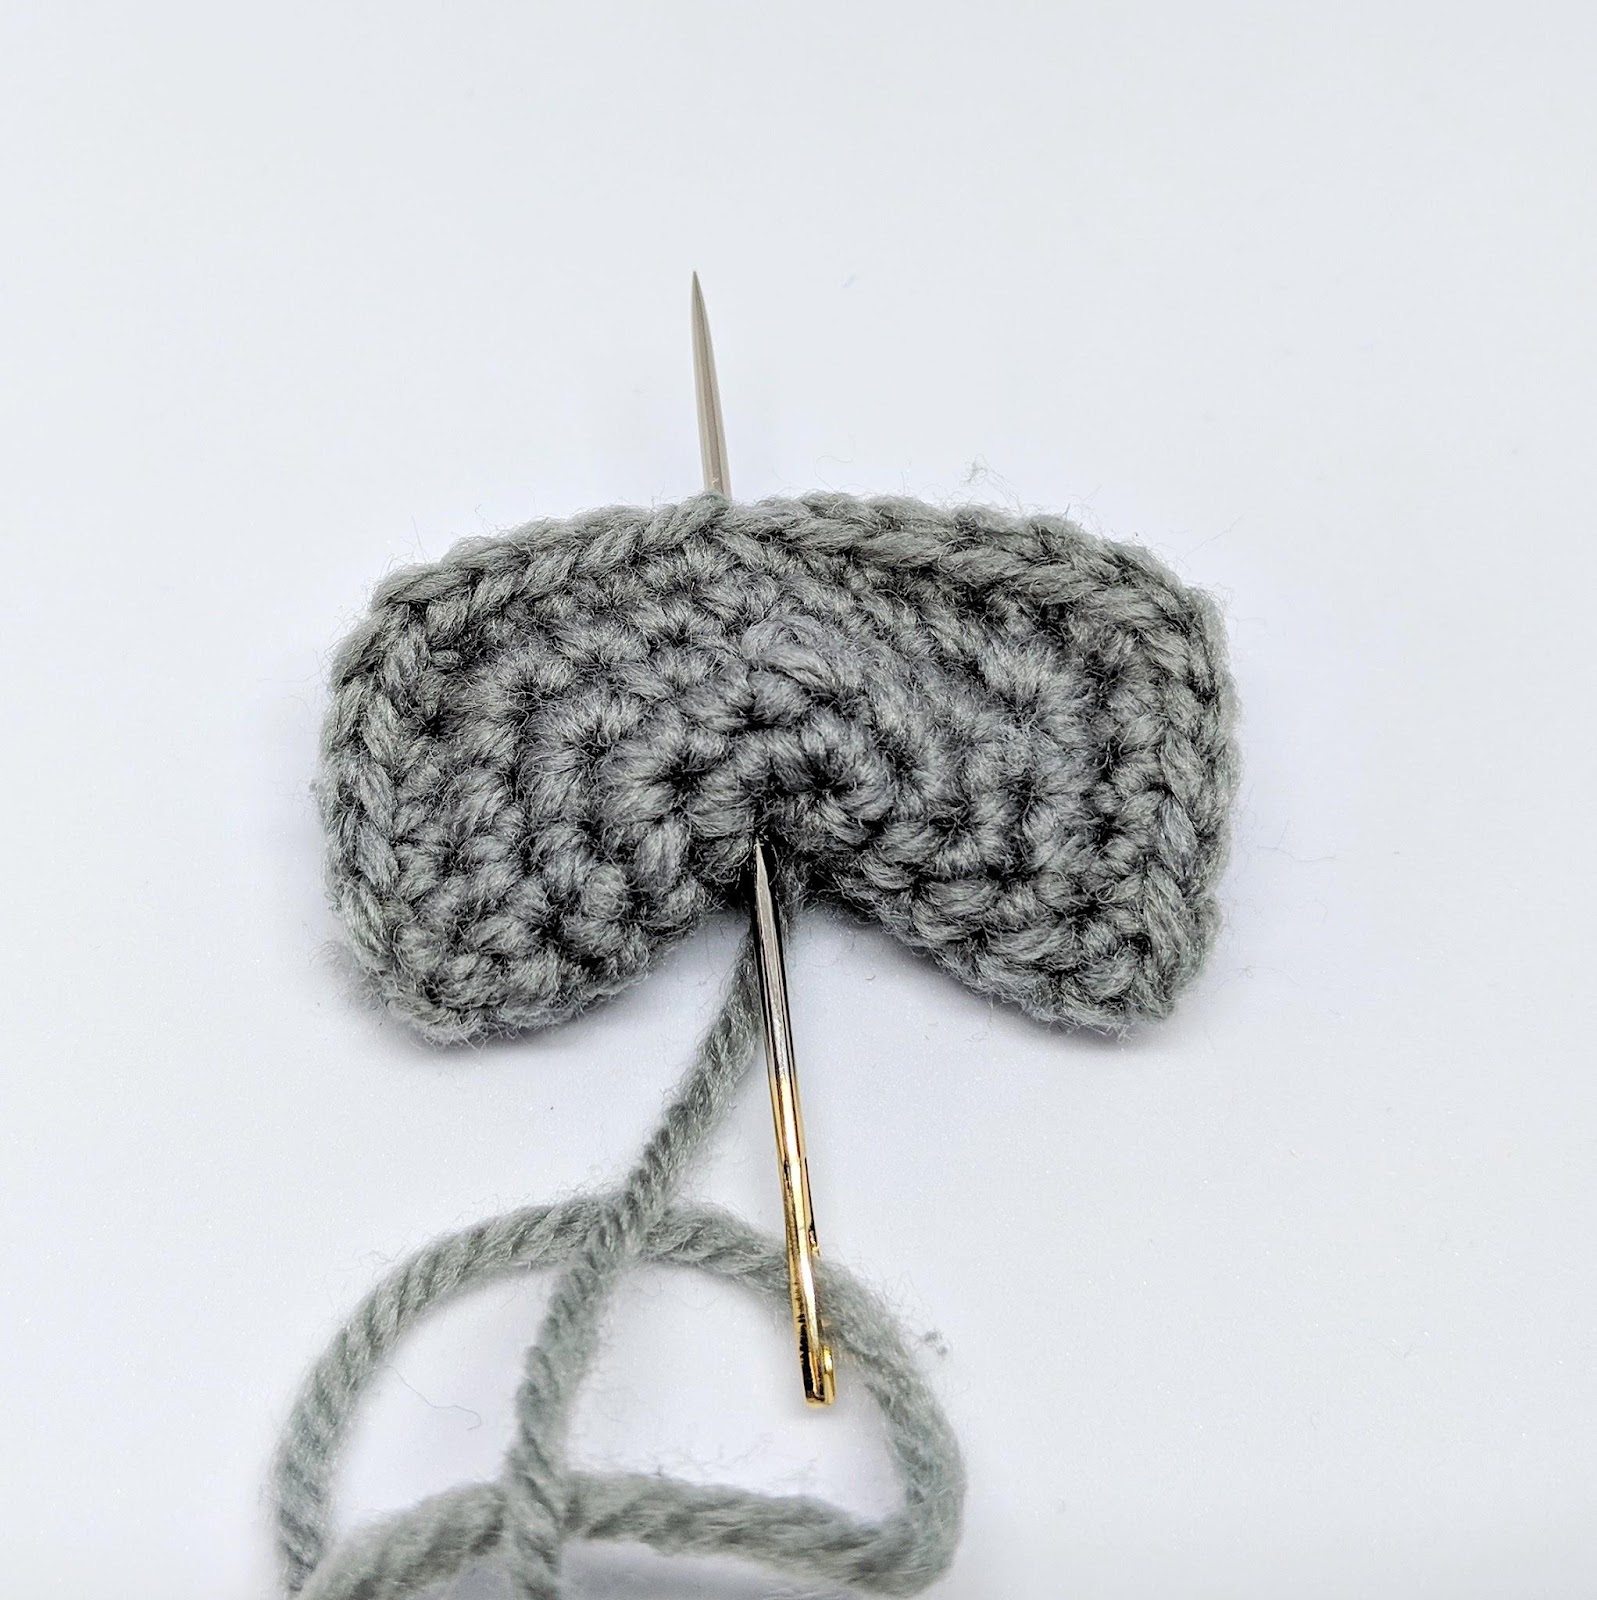
Finish off. Leave long tail. Don’t stuff

If you are making a shark or a dolphin, make a third fin using the instructions above but with one less row (finish at the end of R3, not R4). The third shorter fin will be on top.

Assembly
Using a sewing needle:

- Attach the tail at the back of the body between R12 and R13. Secure it well and make sure there are no gaps between the tail bow knot and the
- Attach the side fins to each side of the body on R12 see picture:
That’s it for the whale!

If you are making a dolphin or a shark:
Attach the top fin (the shorter one) toward the back of the body so one end is on R1 and the other is on R5 see picture.
That’s it for the dolphin!

If you are making the shark you have one optional step left which is to add teeth so it looks fierce :P