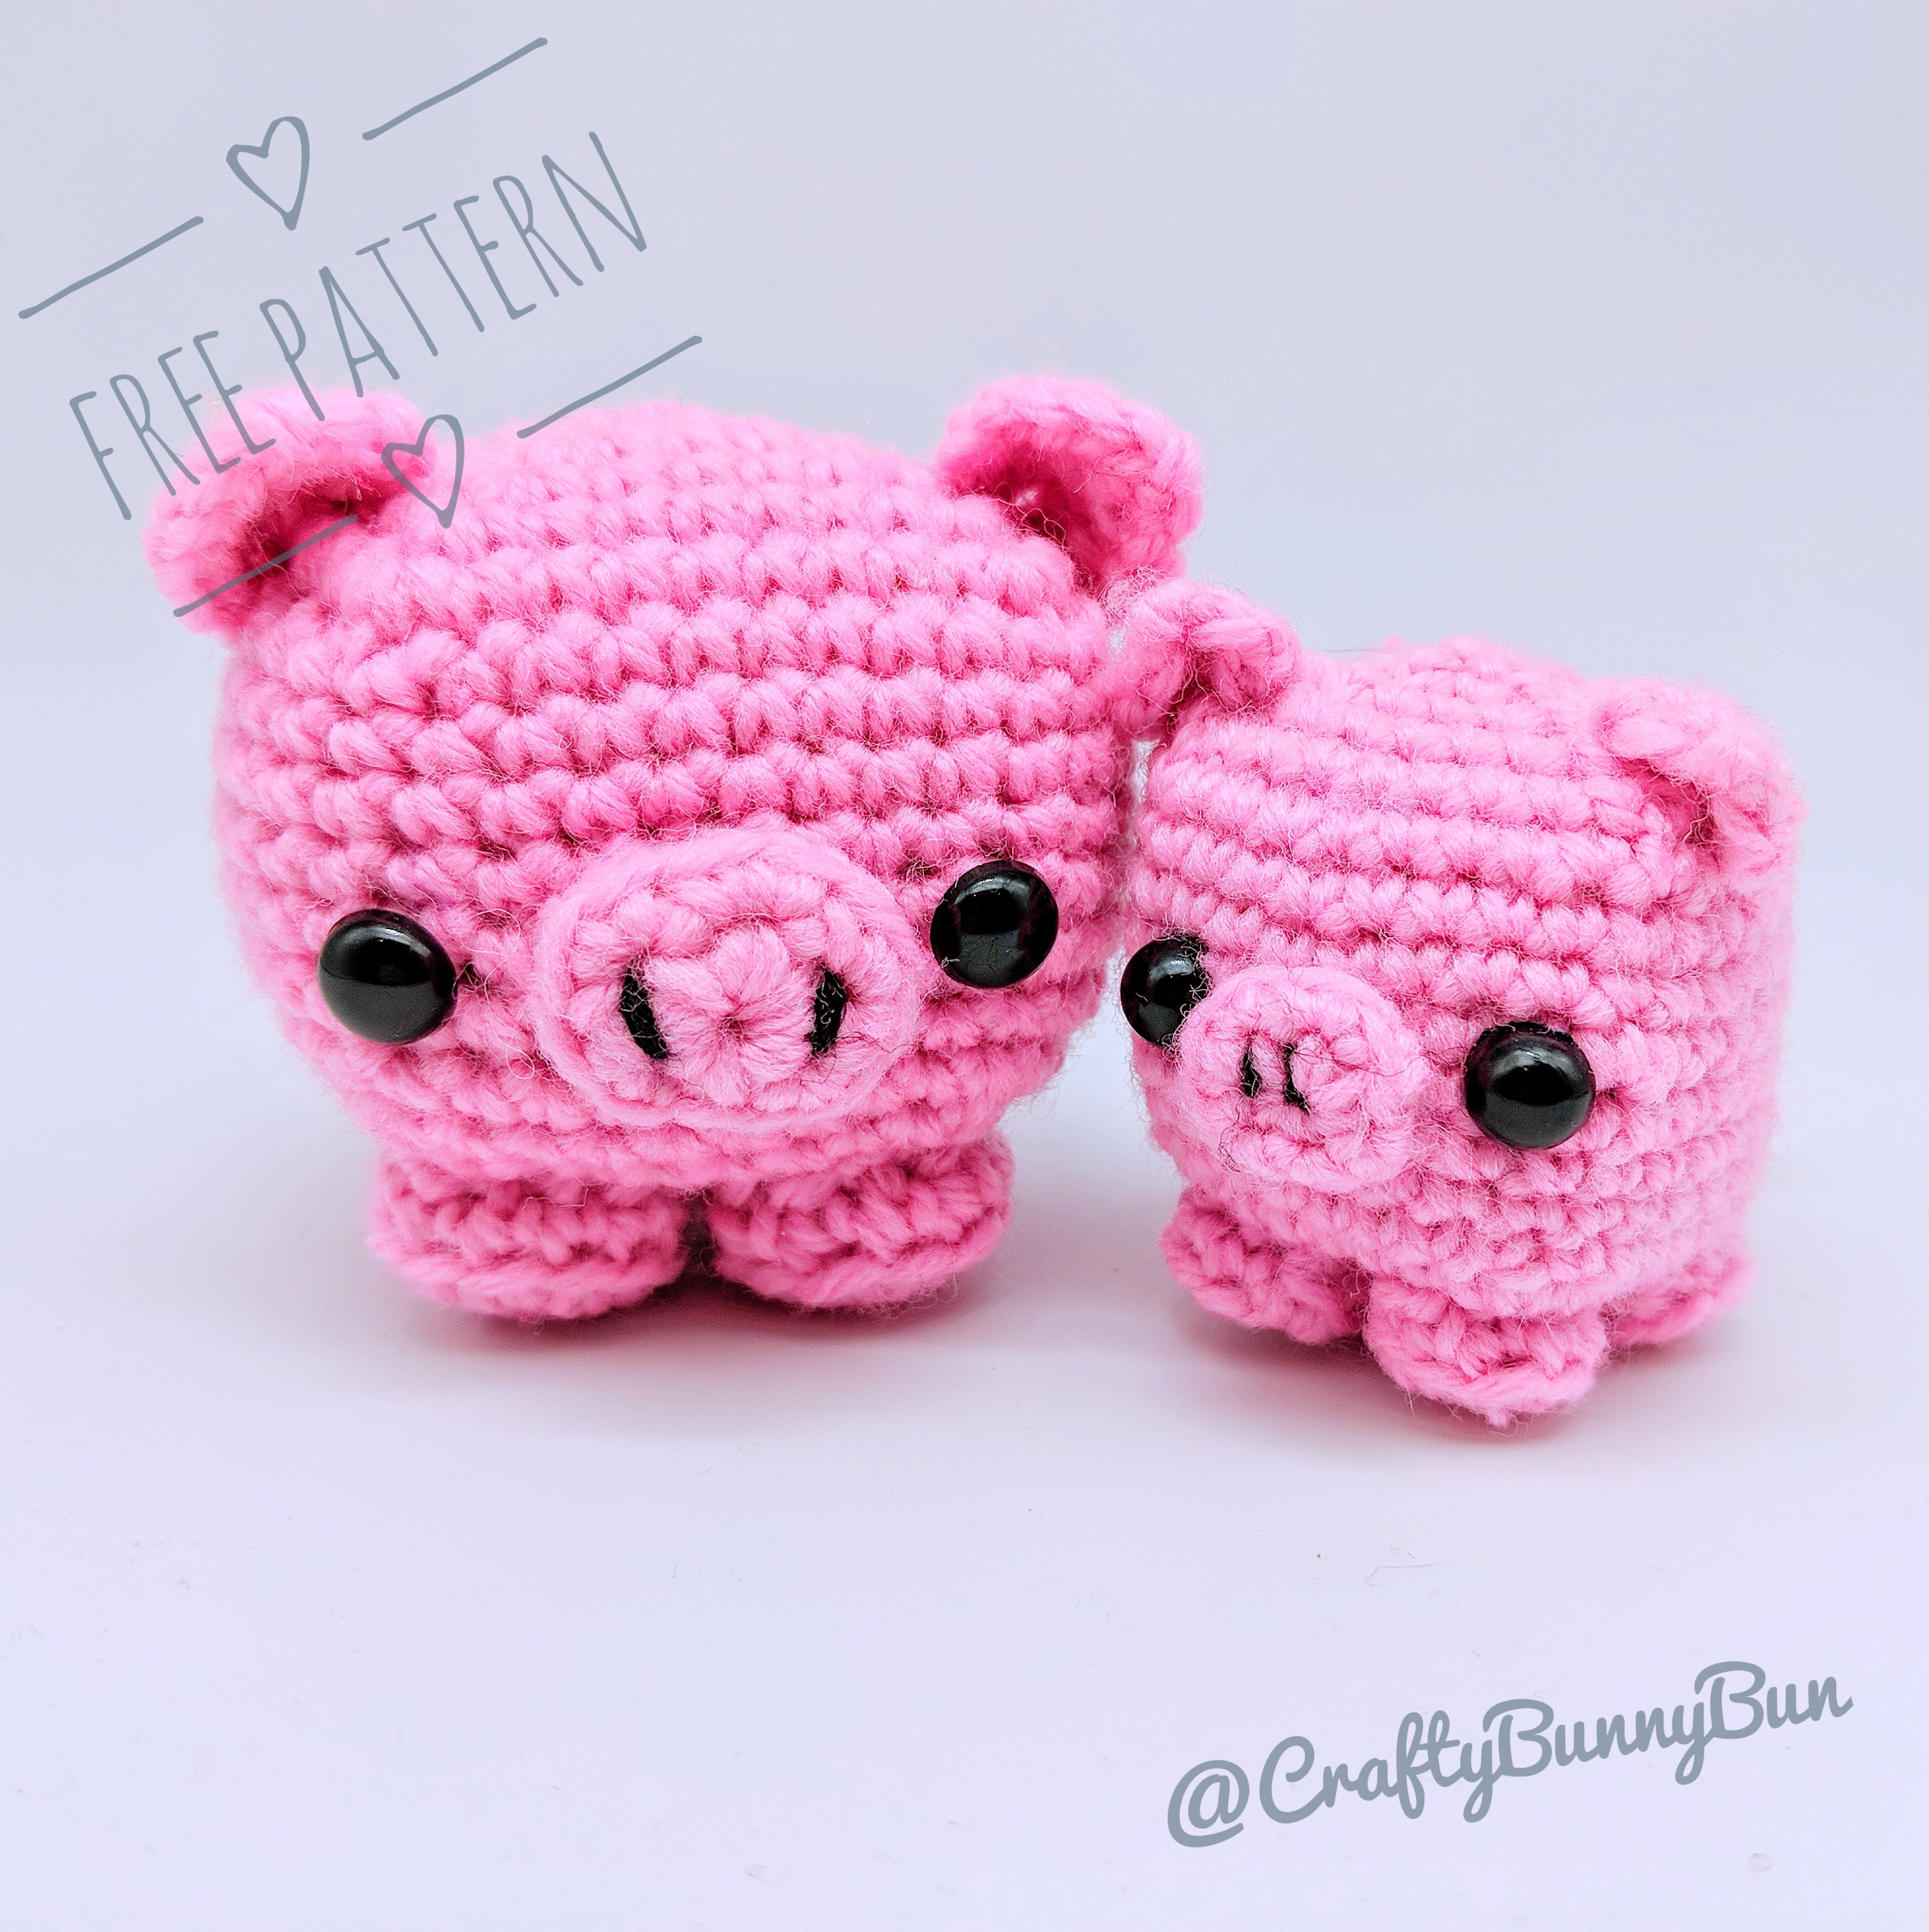
Piggy Pig just joined the cube animals family! It shares the same basic body as most of my other patterns and it's just as simple and cute.
This pattern has  on Ravelry.
Material
- 3mm crochet hook
- DK yarn in pink and
- Tiny bit of yarn/thread in black for the nose embroidery
- 8mm safety eyes
Abbreviations (US)
- MC: magic circle
- 2-sc inc: 2 sc in next st (increase by 1)
- 3-sc inc: 3 sc in next st (increase by 2)
- sc2tog: 2 sc together (decrease by 1)
- sc3tog: 3 sc together (decrease by 2)
- ch: Chain
Instructions
This pattern is made in a spiral of continuous rounds
Body (make 1)
|
Row # |
Instructions |
Sts |
|
R1 |
4-sc MC |
4 |
|
R2 |
3-sc inc × 4 |
12 |
|
R3 |
sc, 3-sc inc, [sc × 2, 3-sc inc] × 3, sc |
20 |
|
R4 |
sc × 2, 3-sc inc, [sc × 4, 3-sc inc] × 3, sc × 2 |
28 |
|
R5 |
sc × 3, 3-sc inc, [sc × 6, 3-sc inc] × 3, sc × 3 |
36 |
|
R6 |
sc × 4, 3-sc inc, [sc × 8, 3-sc inc] × 3, sc × 4 |
44 |
|
R7 |
sc × 5, sc2tog, [sc × 9, sc2tog] × 3, sc × 4 |
40 |
|
R8-14 |
sc × 40 |
40 |
|
R15 |
sc × 4, sc3tog, [sc × 7, sc3tog] × 3, sc × 3 |
32 |
|
R16 |
sc × 3, sc3tog, [sc × 5, sc3tog] × 3, sc × 2 |
24 |
|
Stuff well. Place the eyes between R11 and R12 with 7 stitch holes between them. See pictures for reference |
||
|
R17 |
sc × 2, sc3tog, [sc × 3, sc3tog] × 3, sc |
16 |
|
R18 |
[sc, sc3tog] × 4 |
8 |
Finish off, sew the ends together to close the gap.

Snout (make 1)
|
Row # |
Instructions |
Sts |
|
R1 |
5-sc MC |
5 |
|
R2 |
2-sc inc × 5 (make last stitch in the last increase as a slip stitch instead of a sc) |
10 |
|
R3 |
In back loop only: sc × 10 |
10 |
Do one more sc then a slip stitch, then finish off. Leave long tail. Stuff
Legs (make 4)
|
Row # |
Instructions |
Sts |
|
R1 |
6-sc MC |
6 |
|
R2 |
2-sc inc × 6 (make last stitch in the last increase as a slip stitch instead of a sc) |
12 |
|
R3 |
In back loop only: sc × 12 |
12 |
Do one more sc then a slip stitch, then finish off. Leave long tail. Stuff
Ears (make 2)
This part is worked back and forth, not in a round.
|
Row # |
Instructions |
Sts |
|
R1 |
3-sc MC |
3 |
|
R2 |
ch 1 turn, sc, 2-sc inc, sc |
4 |
|
R3 |
ch 1 turn, sc × 4 |
4 |
|
R4 |
ch 1 turn, sc, 2-sc inc, 2-sc inc, sc |
6 |
Finish off. Leave long tail.
Tail (make 1)
This part is worked back and forth, not in a round.
|
Row # |
Instructions |
|
R1 |
ch × 5 |
|
R2 |
Starting second ch after the hook: 3-sc inc in every ch |
The above should form a curly cord. Finish off. Leave long tail.

Assembly

Using a sewing needle:
- Using the long yarn tail sew the pig tail at the back of the body at R11. Attach in the short end of the yarn inside the body to hide it.
- Attach the stuffed legs to the bottom of the body as per the picture below

- Attach the ears to each side closer to the front than the back of the body. I attached one end of the ears on R5 and the other on R7. Attach in the short end of the yarn in each ear (the tail from the magic circle) to hide it.
- Attach snout to the front of the face in between the eyes. I sewed mine to cover R10, R11 and R12 between the eyes as per the picture below
- Use black yarn and sewing needle to embroider two lines on the snout to represent the nostrils. Use the picture as a reference.