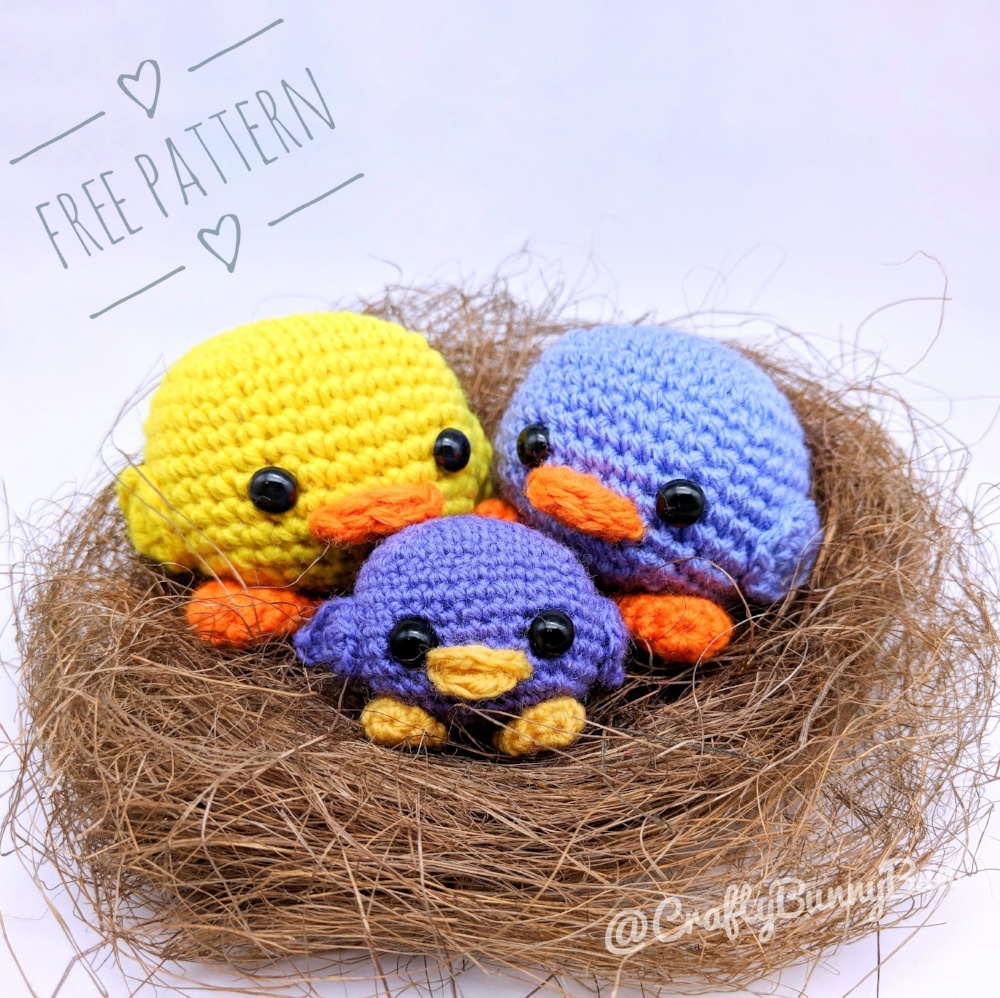
 A cute, free and super easy birdie pattern. Start with the basic cube shape and end up with a new adorable friend.
This pattern has  on Ravelry.
Material
- 3mm crochet hook
- DK yarn in the color of choice
- DK yarn in yellow or orange for the beak and feet
- 8mm safety eyes
If you are creating the small baby bird:
- 2mm crochet hook
- 4 ply/baby/fine yarn#
- 6mm safety eyes
Abbreviations (US)
- MC: magic circle
- 2-sc inc: 2 sc in next st (increase by 1)
- 3-sc inc: 3 sc in next st (increase by 2)
- sc2tog: 2 sc together (decrease by 1)
- sc3tog: 3 sc together (decrease by 2)
- sl st: Slip stitch
- ch: Chain
Instructions
This pattern is made in a spiral of continuous rounds
First, I’ll start with the peak. Starting with it helps you determine the eye spacing on the body so the peak can fit between them.
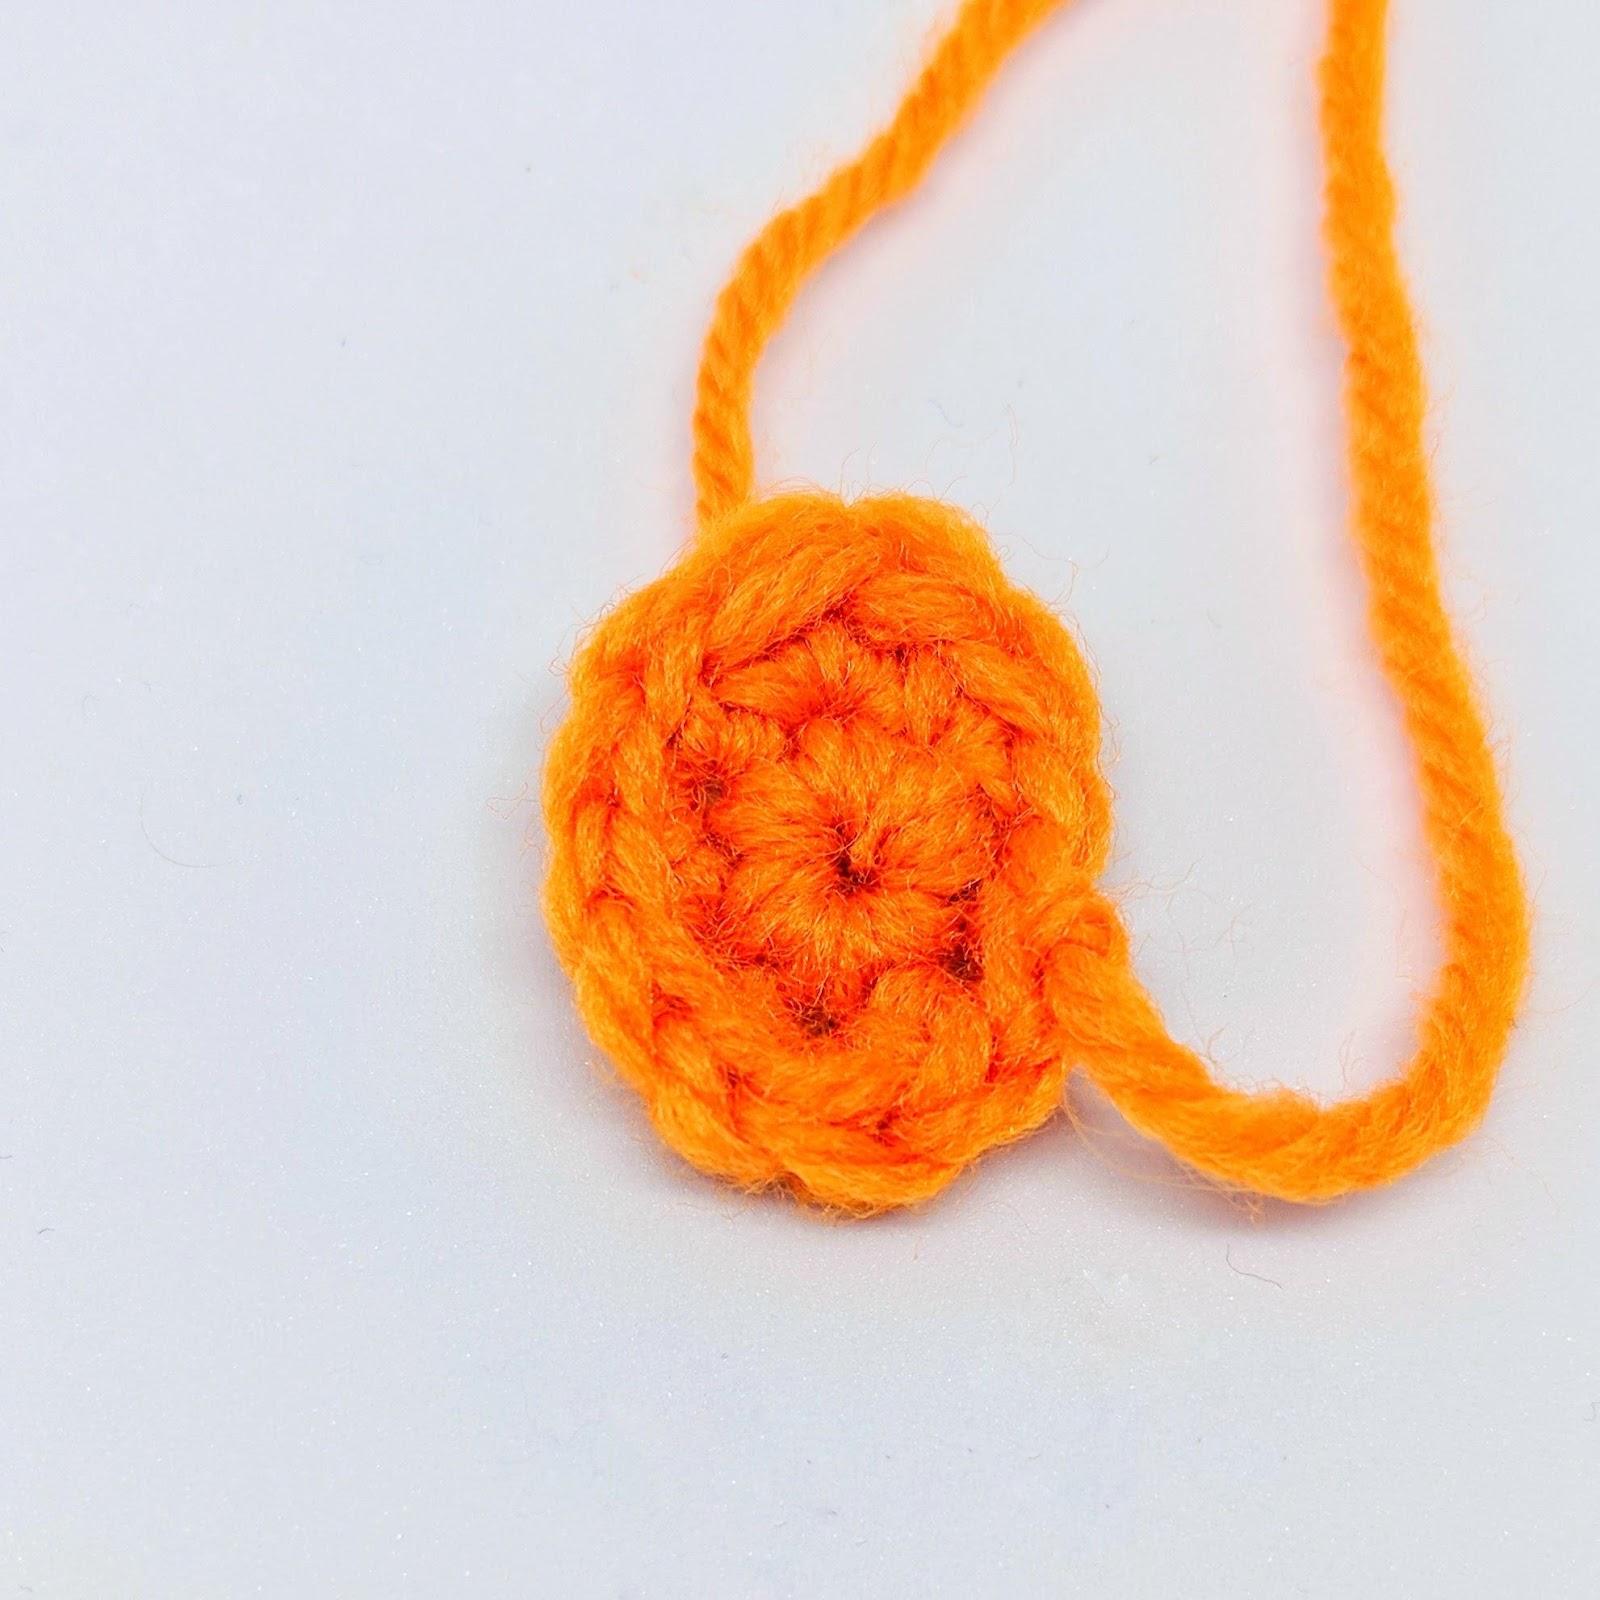
Peak (make 1)
With the yellow/orange yarn:
|
Row # |
Instructions |
Sts |
|
R1 |
6-sc MC |
6 |
|
R2 |
2-sc inc, 2-hdc inc, 2-sc inc × 2, 2-hdc inc, 2-sc inc, sl st |
12 |
Finish off leaving a long tail.

Body (make 1)
|
Row # |
Instructions |
Sts |
|
R1 |
4-sc MC |
4 |
|
R2 |
3-sc inc × 4 |
12 |
|
R3 |
sc, 3-sc inc, [sc × 2, 3-sc inc] × 3, sc |
20 |
|
R4 |
sc × 2, 3-sc inc, [sc × 4, 3-sc inc] × 3, sc × 2 |
28 |
|
R5 |
sc × 3, 3-sc inc, [sc × 6, 3-sc inc] × 3, sc × 3 |
36 |
|
R6 |
sc × 4, 3-sc inc, [sc × 8, 3-sc inc] × 3, sc × 4 |
44 |
|
R7 |
sc × 5, sc2tog, [sc × 9, sc2tog] × 3, sc × 4 |
40 |
|
R8-14 |
sc × 40 |
40 |
|
R15 |
sc × 4, sc3tog, [sc × 7, sc3tog] × 3, sc × 3 |
32 |
|
R16 |
sc × 3, sc3tog, [sc × 5, sc3tog] × 3, sc × 2 |
24 |
|
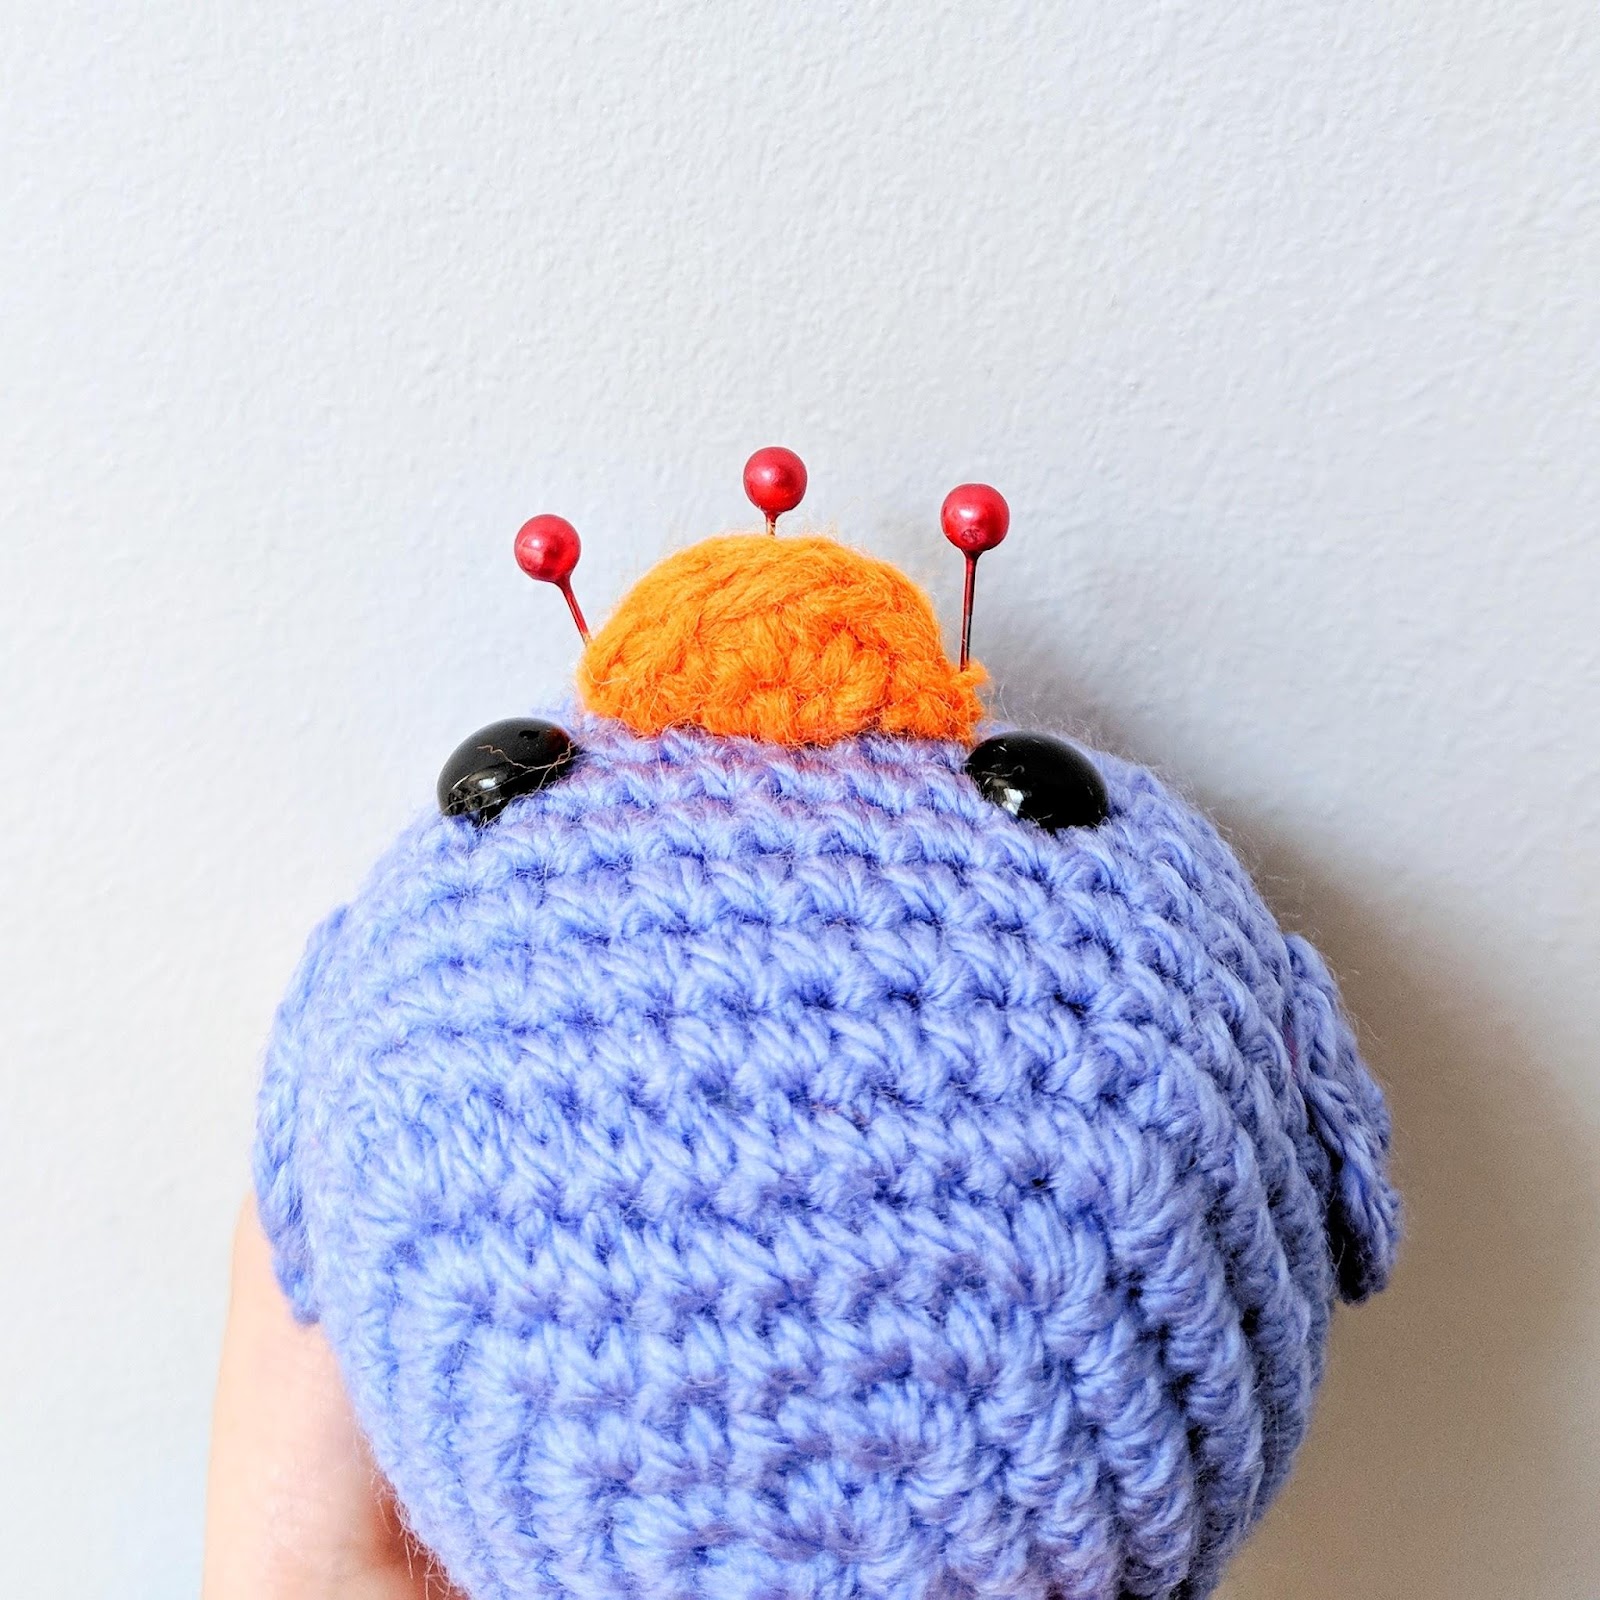
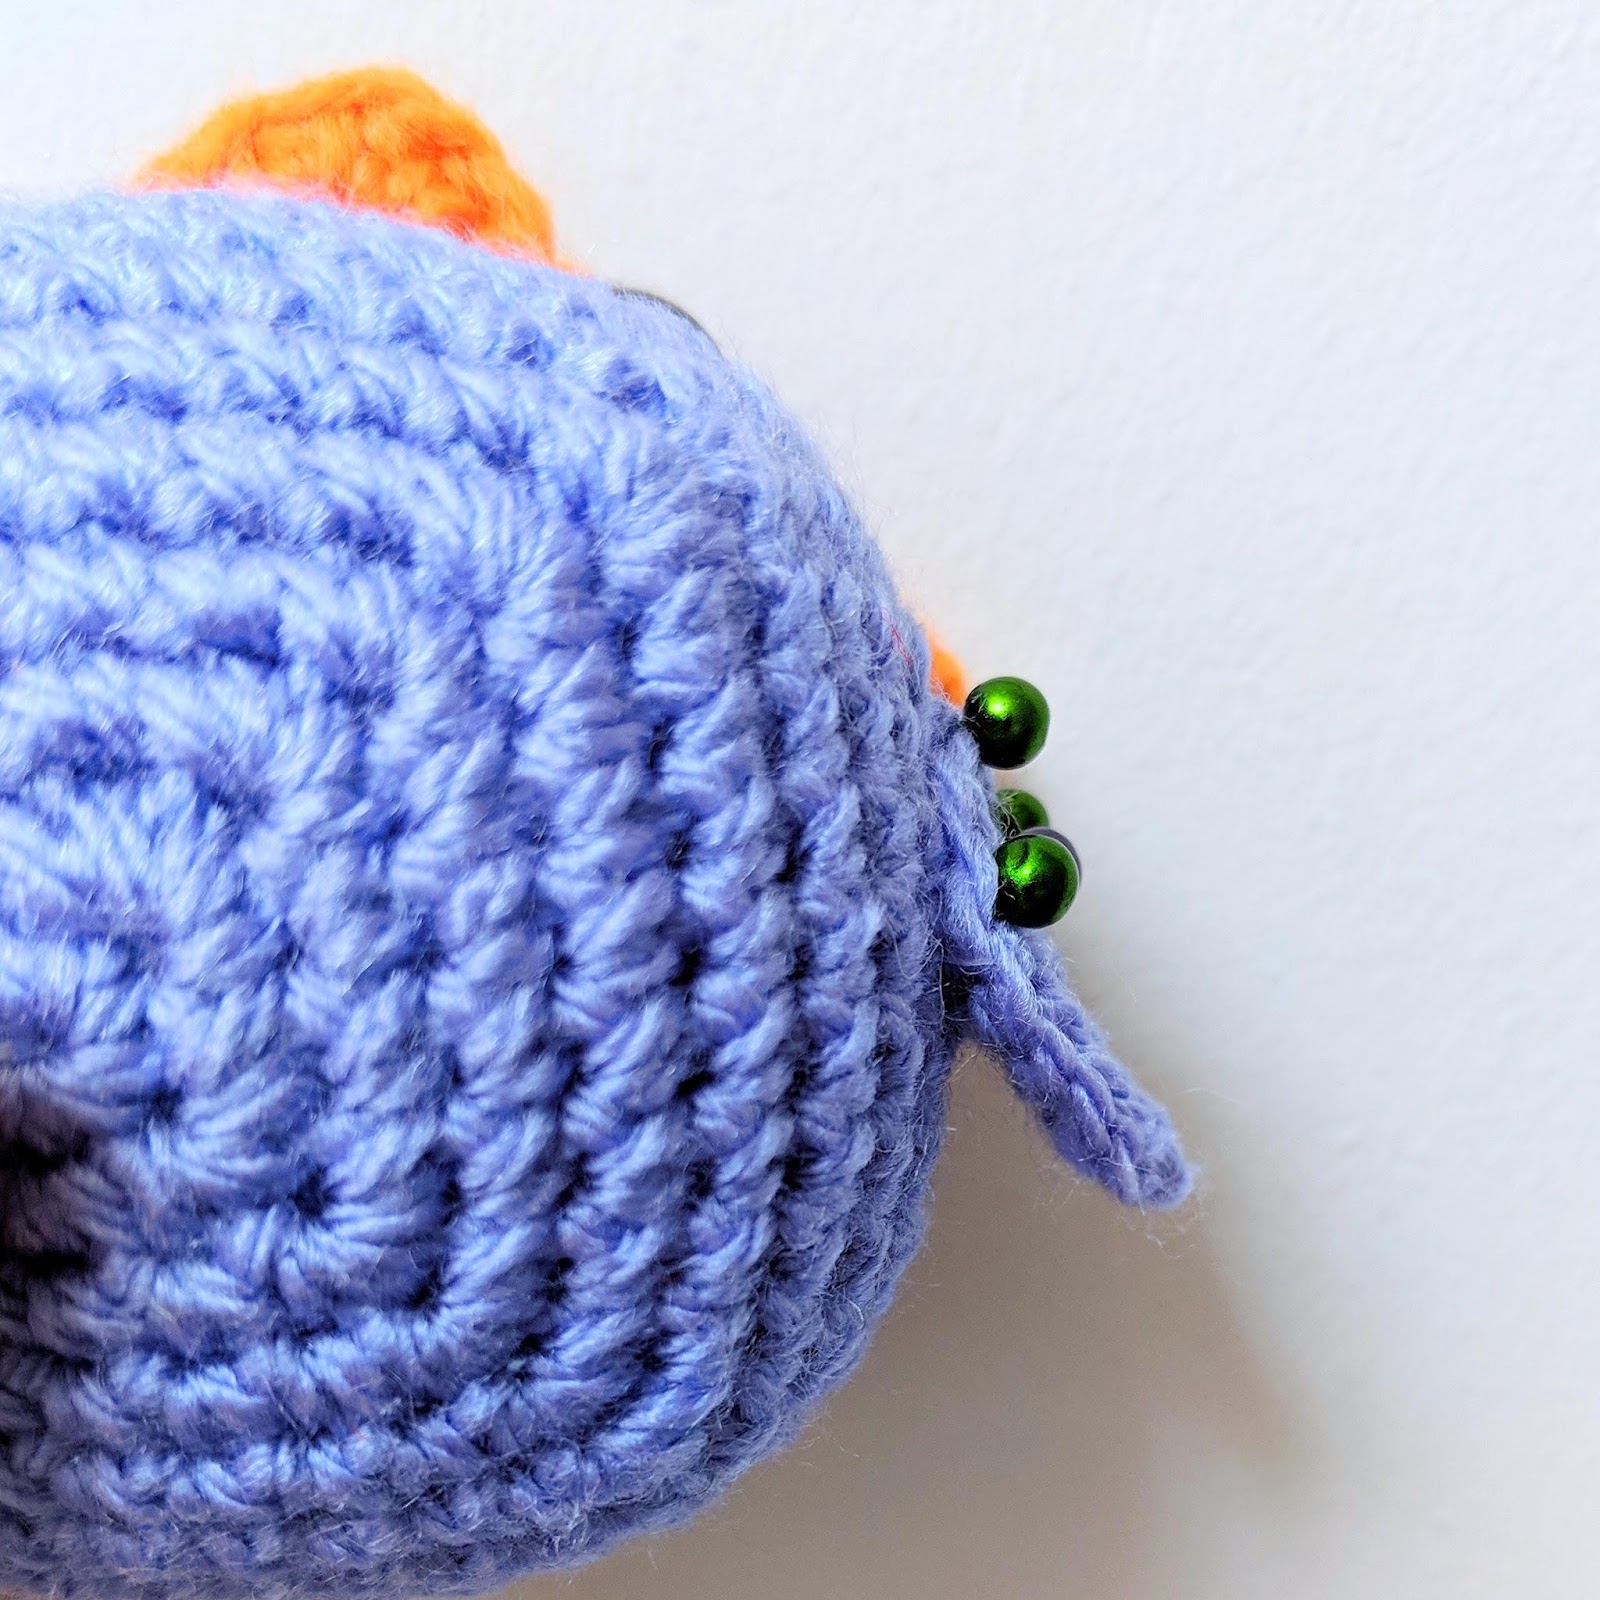
Stuff well. Place the eyes between R11 and R12. Place them about 6 stitch gaps apart. See pictures for reference. There is going to be a peak in the middle so leave room for that. |
||
|
R17 |
sc × 2, sc3tog, [sc × 3, sc3tog] × 3, sc |
16 |
|
R18 |
sc, sc3tog, [sc, sc3tog] × 3 |
8 |
Finish off, sew the ends together to close the gap.
Wings (make 2)
|
Row # |
Instructions |
Sts |
|
R1 |
6-sc MC |
6 |
|
R2 |
2-sc inc × 6 |
12 |
|
R3 |
HDC × 2, ch |
- |
Leave long tail. Do not stuff

Feet (make 2)
|
Row # |
Instructions |
Sts |
|
R1 |
5-sc MC |
5 |
|
R2 |
2-sc inc × 5 |
10 |
|
R3-7 |
sc × 10 |
10 |
Leave long tail. Do not stuff
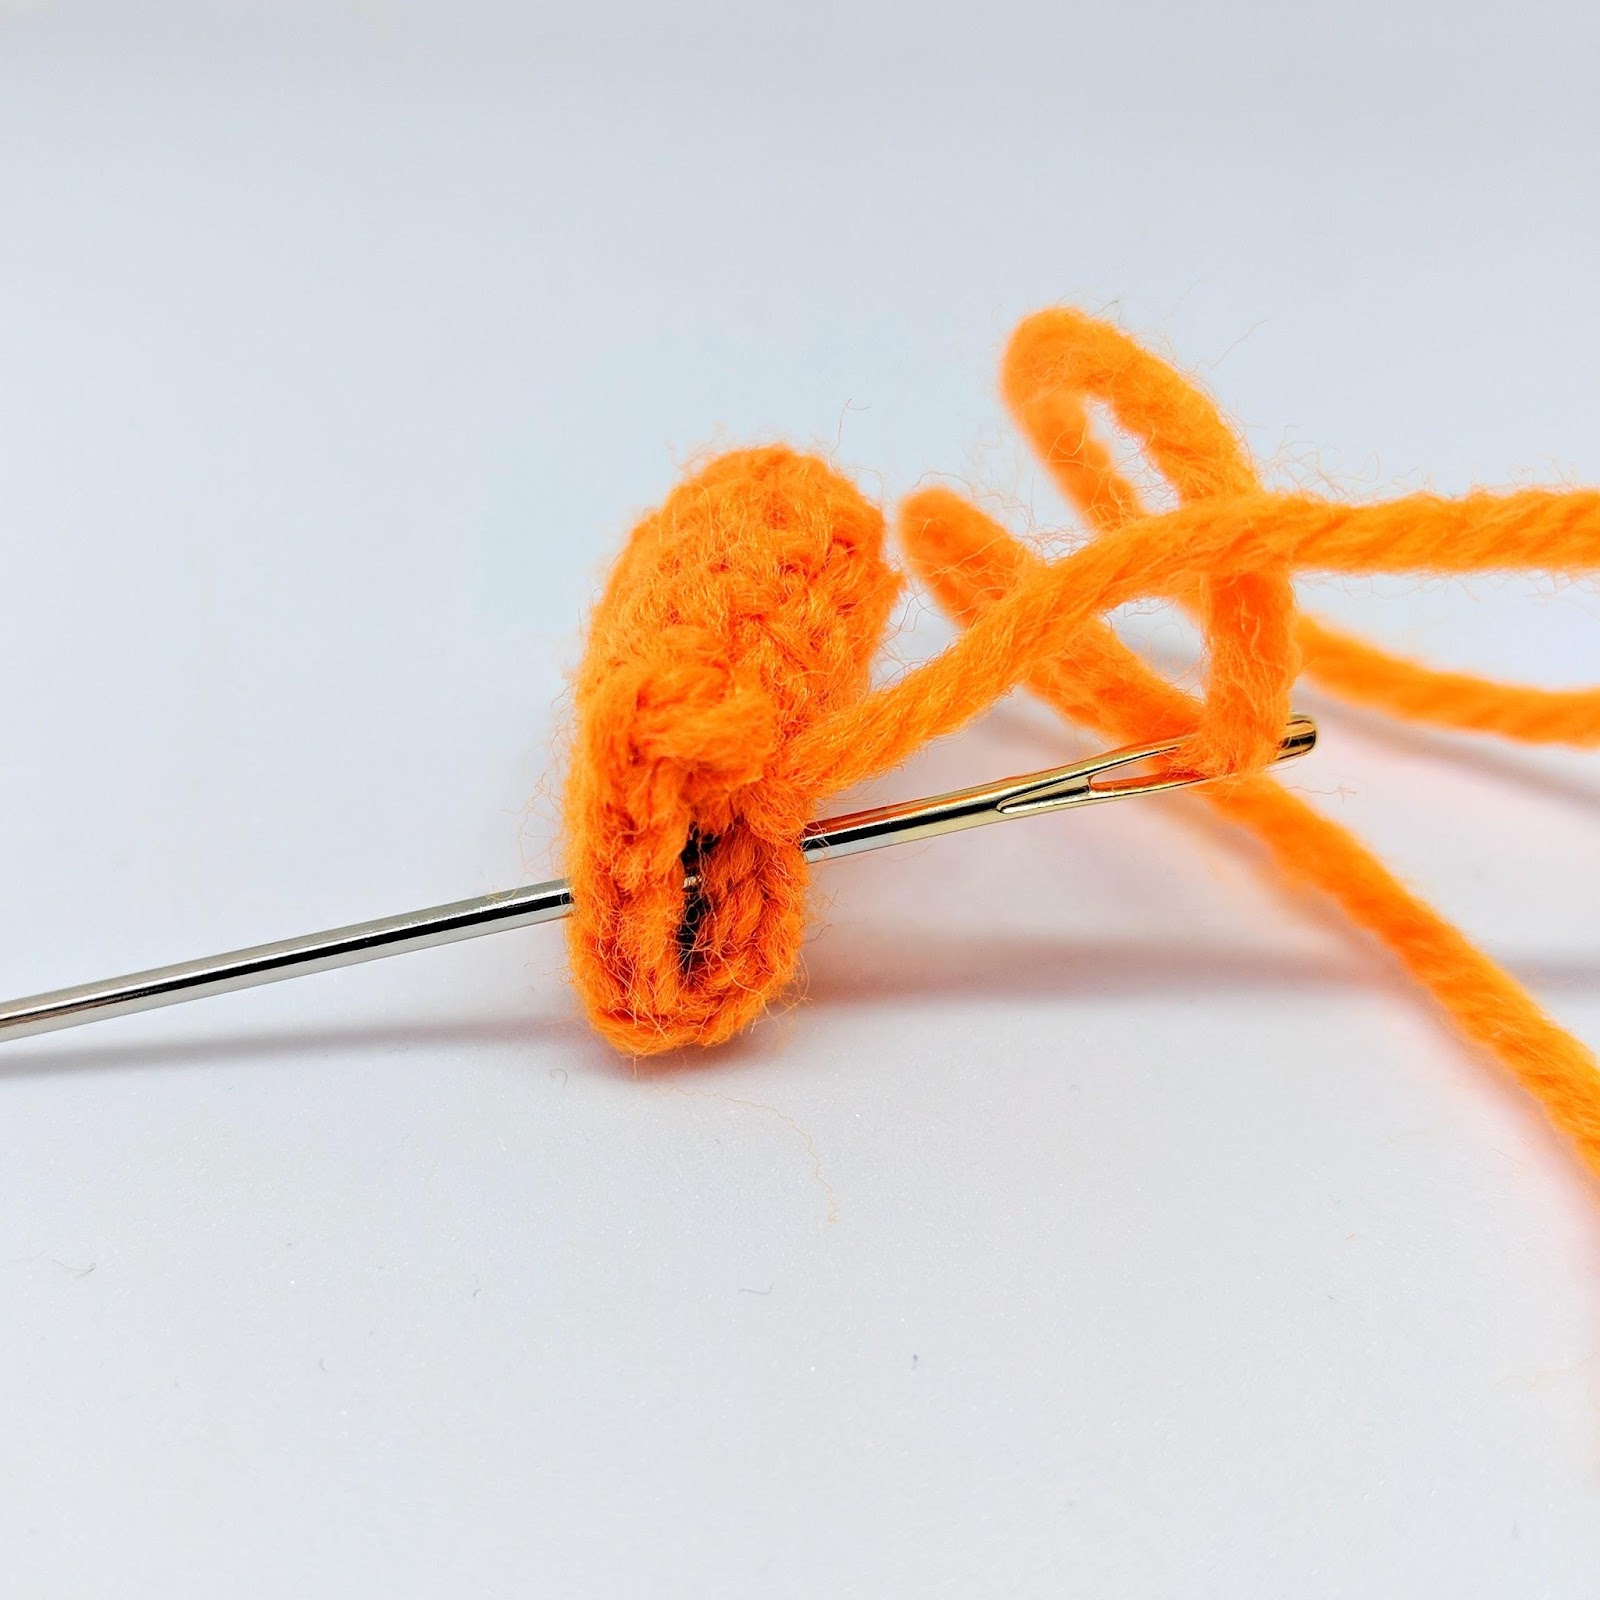
Sew the end of the each feet together to close it off flat as per the picture below:
Assembly

Using a sewing needle:

- Attach the peak between R12 and R13. Start by attaching each corner as indicated by the pins in the pictures then attach the middle of the peak.

- Attach the wings to the side of the bird on R10, R11 and R12. Let the outer part of the wing be detached as per the picture.

- Attach the little feet at the bottom of the bird. For a cuter effect space them apart and have them point a little outward to each side rather than just straight to the front see the following pictures for reference