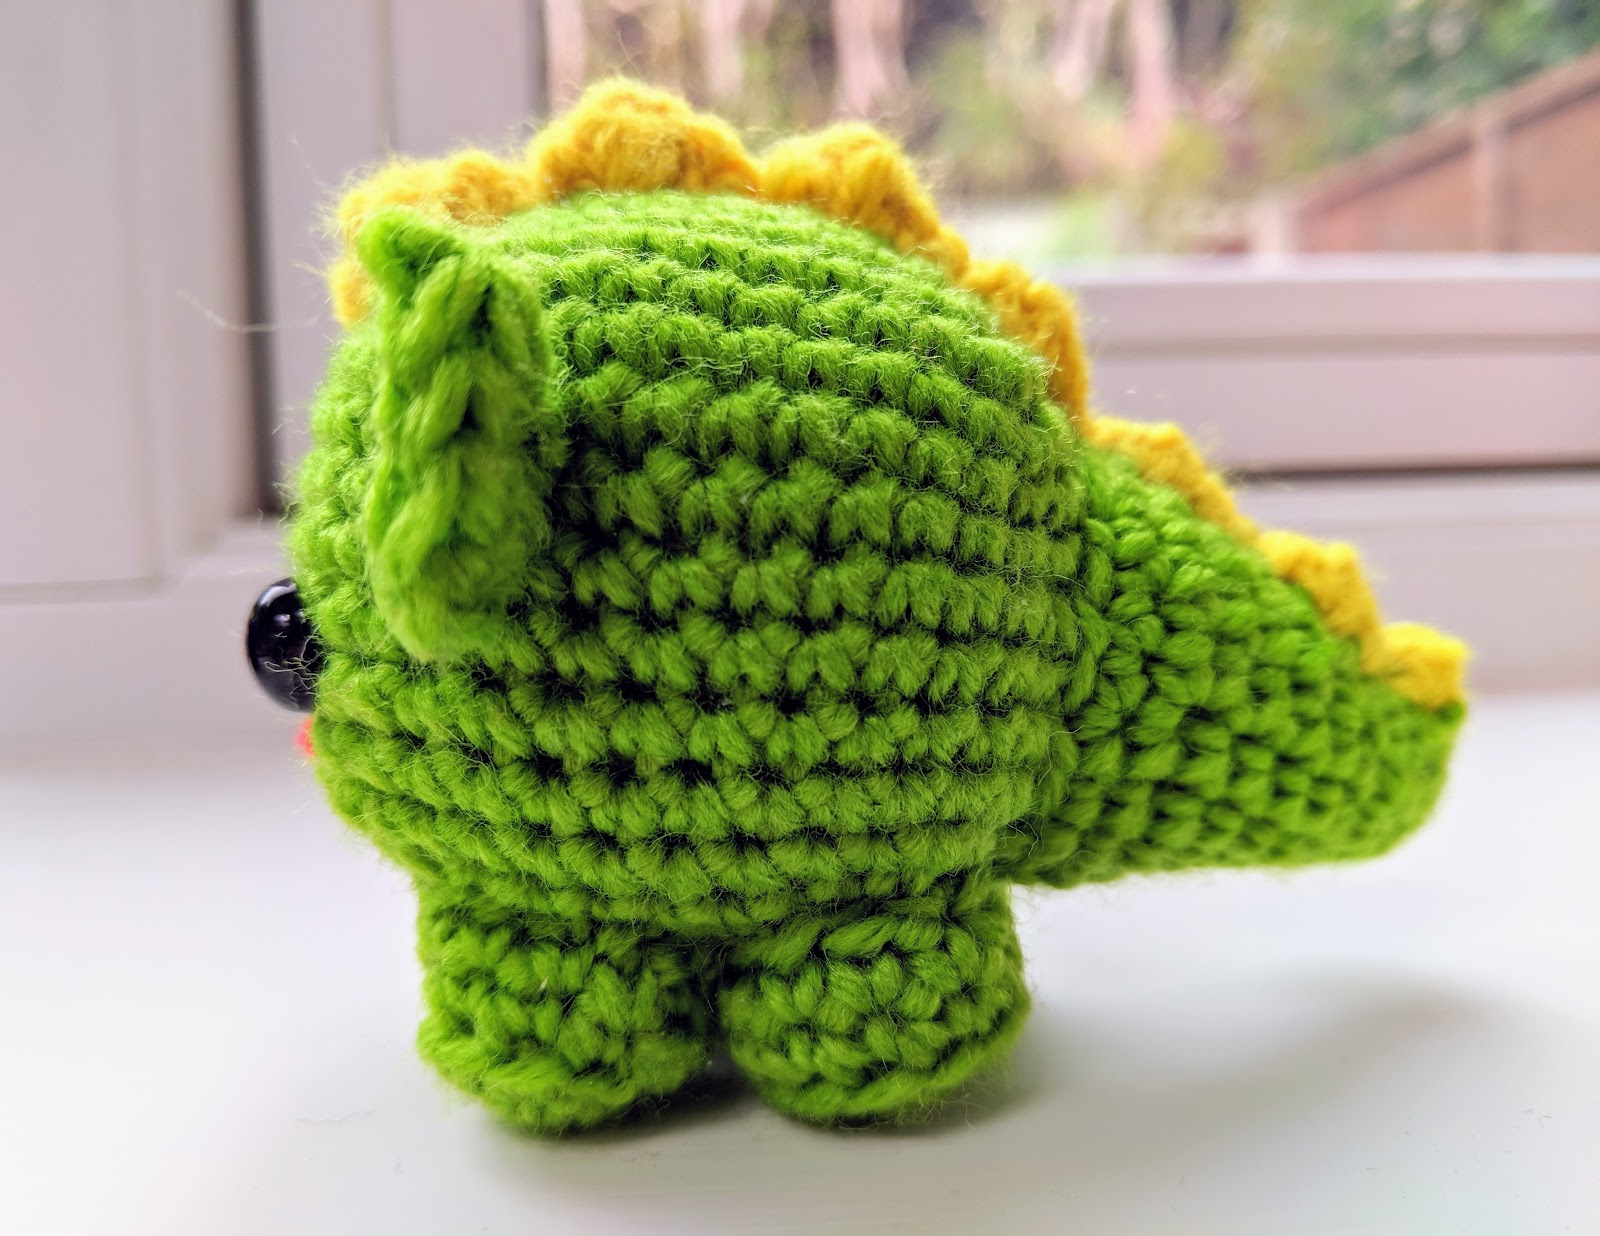
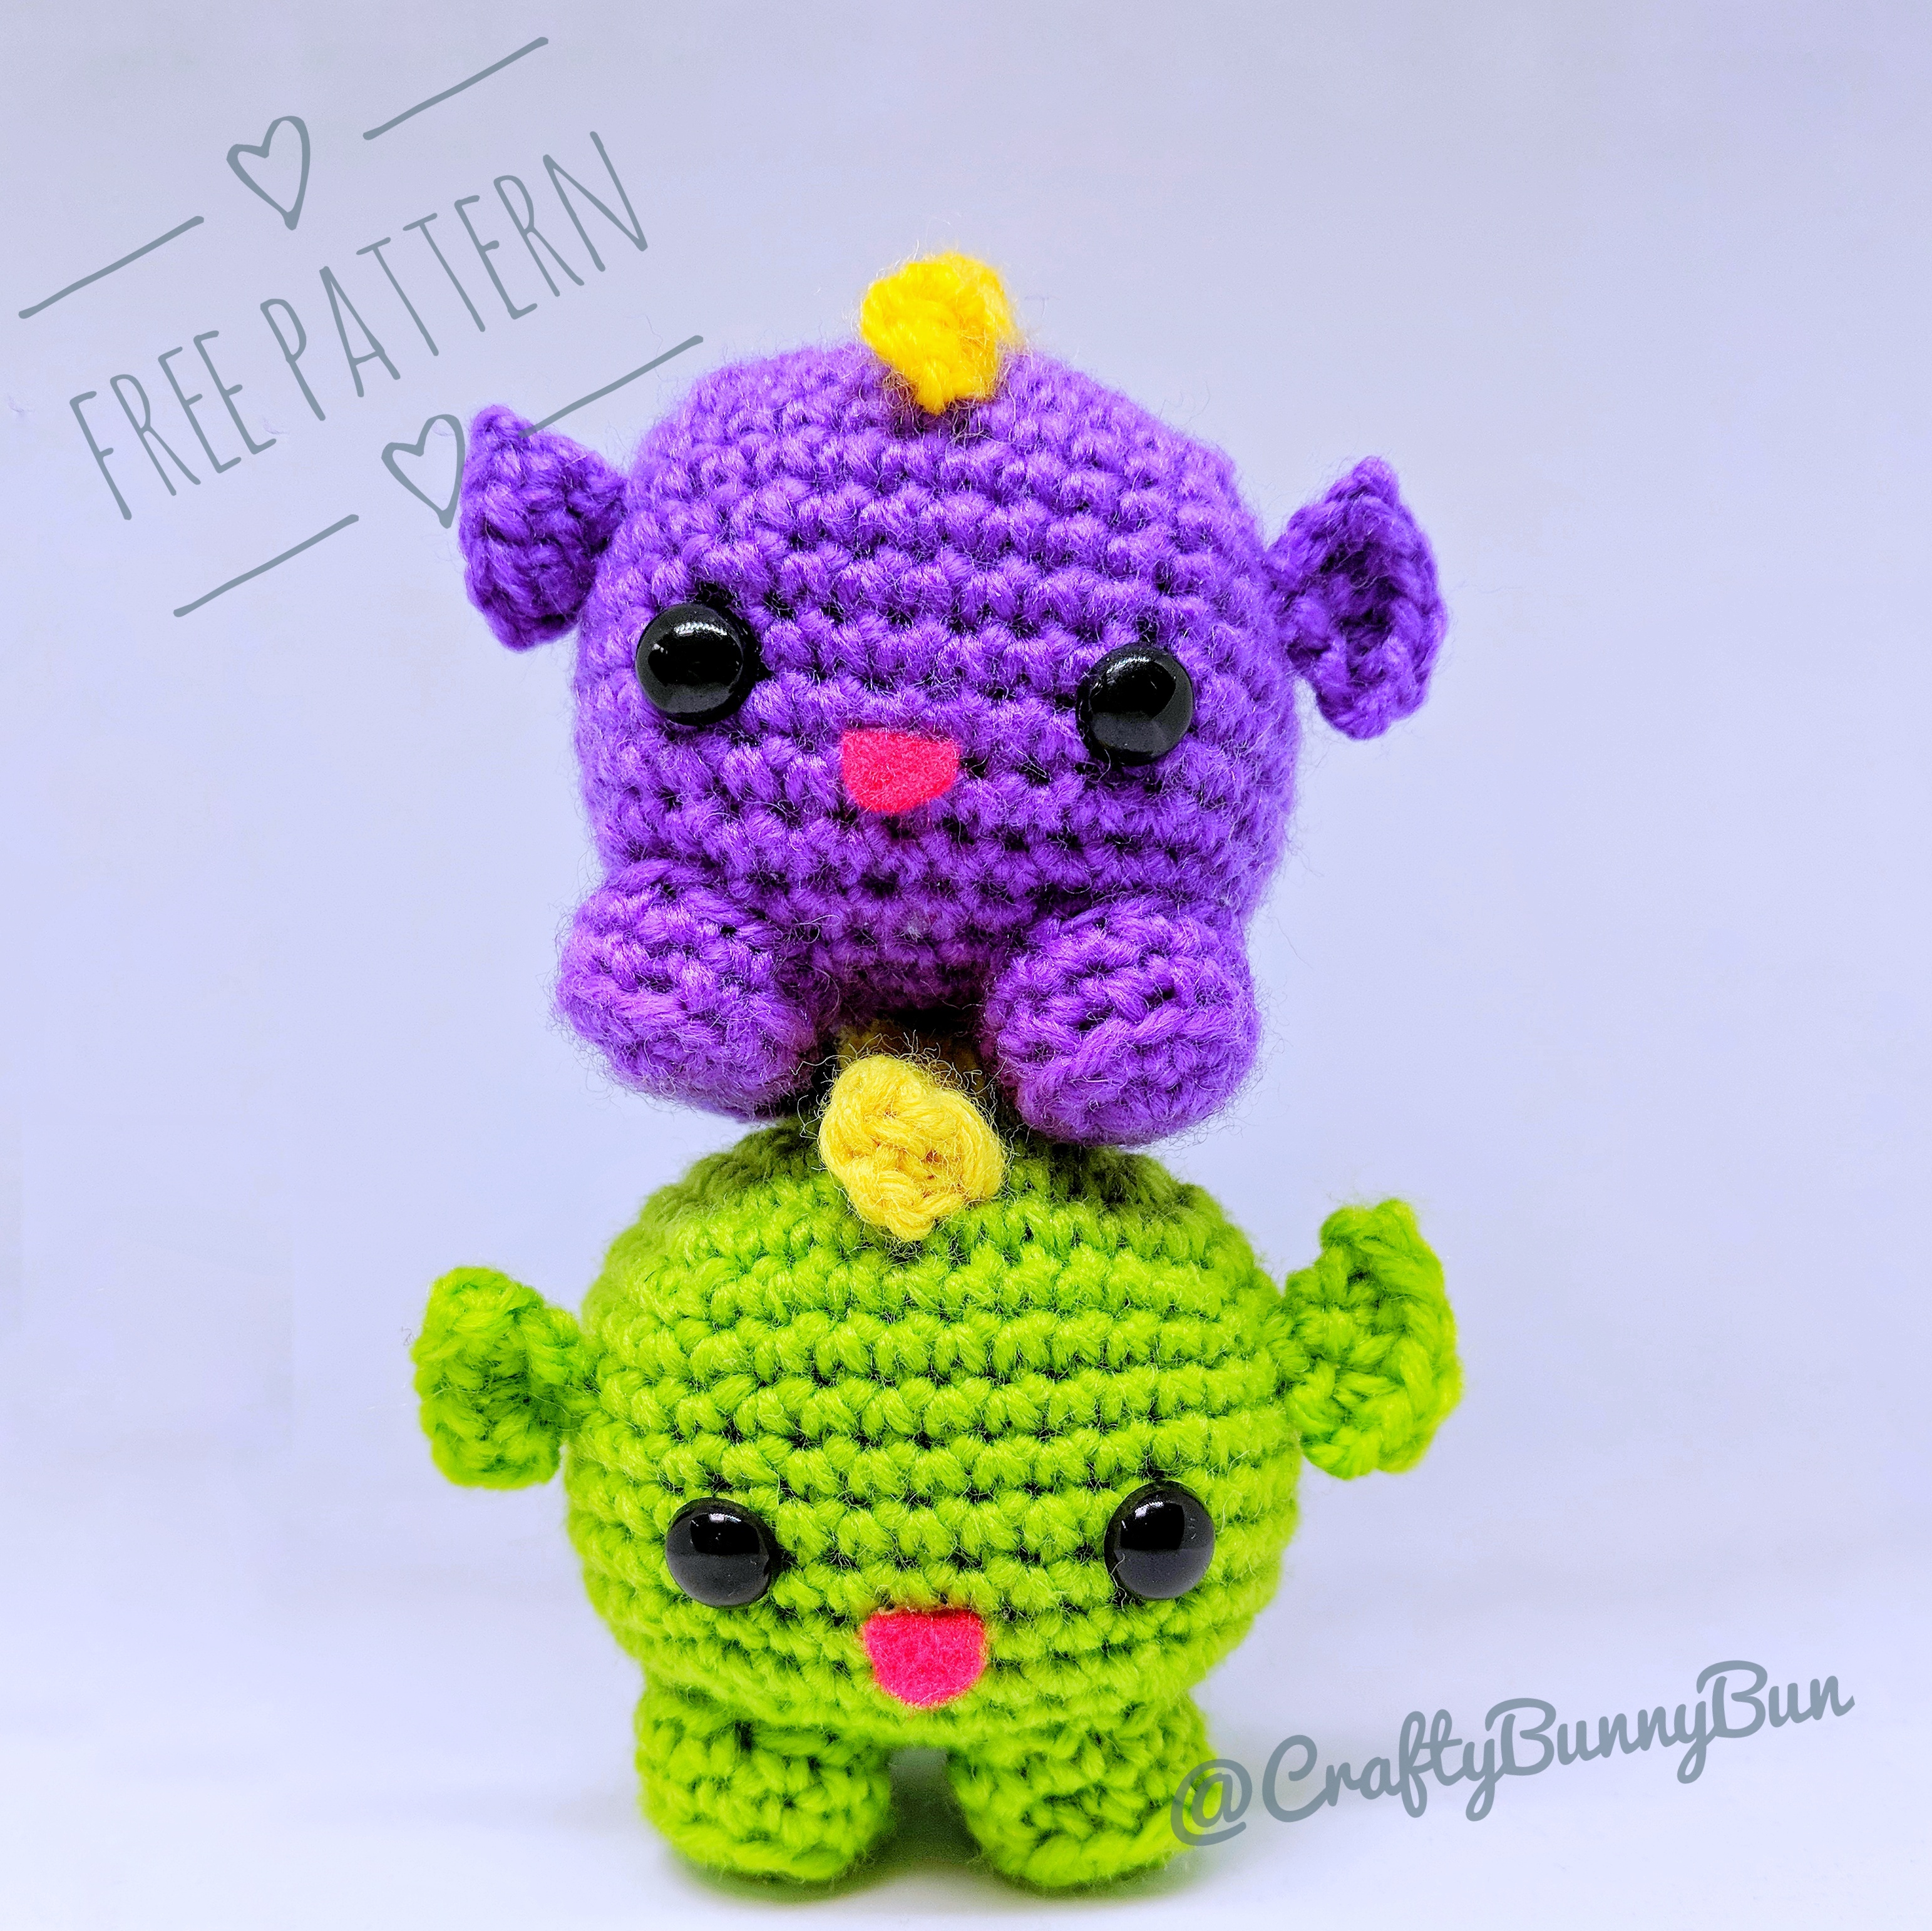
 A small but fierce Dragon! It is built from a cube basic shape. It shares the same body as most of my other cube patterns just with one extra row in the middle for hight. Add a tongue for a touch of playfulness.
This pattern has  on Ravelry.
Material
- 3mm crochet hook
- DK yarn in two contrasting colors of choice
- 8mm safety eyes
- Red felt for tongue
Abbreviations (US)
- MC: Magic circle
- 2-sc inc: 2 sc in next st (increase by 1)
- 3-sc inc: 3 sc in next st (increase by 2)
- sc2tog: 2 sc together (decrease by 1)
- sc3tog: 3 sc together (decrease by 2)
- sl st: Slip stitch
- Hdr: Half double crochet
- Dc: Double crochet
- Tr: Triple crochet
Instructions
Body (make 1)
|
Row # |
Instructions |
Sts |
|
R1 |
4-sc MC |
4 |
|
R2 |
3-sc inc × 4 |
12 |
|
R3 |
sc, 3-sc inc, [sc × 2, 3-sc inc] × 3, sc |
20 |
|
R4 |
sc × 2, 3-sc inc, [sc × 4, 3-sc inc] × 3, sc × 2 |
28 |
|
R5 |
sc × 3, 3-sc inc, [sc × 6, 3-sc inc] × 3, sc × 3 |
36 |
|
R6 |
sc × 4, 3-sc inc, [sc × 8, 3-sc inc] × 3, sc × 4 |
44 |
|
R7 |
sc × 5, sc2tog, [sc × 9, sc2tog] × 3, sc × 4 |
40 |
|
R8-14 |
sc × 40 |
40 |
|
R15 |
sc × 4, sc3tog, [sc × 7, sc3tog] × 3, sc × 3 |
32 |
|
R16 |
sc × 3, sc3tog, [sc × 5, sc3tog] × 3, sc × 2 |
24 |
|
Stuff well. Add eyes between R11 and R12. Try the distance that looks best to you and once you are happy with it, fix them in place. See pictures for reference. |
||
|
R17 |
sc × 2, sc3tog, [sc × 3, sc3tog] × 3, sc |
16 |
|
R18 |
[sc, sc3tog] × 4 |
8 |
Sew the ends together to close the gap
Legs (make 4)
|
Row # |
Instructions |
Sts |
|
R1 |
6-sc MC |
6 |
|
R2 |
2-sc inc × 6 |
12 |
|
R3 |
(back loop only) sc × 12 |
12 |
|
R4 |
(both loops as usual) sc × 12 |
12 |
Leave long tail. Stuff.
Tail (make 1)
|
Row # |
Instructions |
Sts |
|
R1 |
6-sc MC |
6 |
|
R2 |
[2-sc inc, sc × 2] × 2 |
8 |
|
R3-4 |
sc × 8 |
8 |
|
R5 |
[2-sc inc, sc × 3] × 2 |
10 |
|
R6 |
sc × 10 |
10 |
|
R7 |
[2-sc inc, sc × 4] × 2 |
12 |
|
R8 |
sc × 12 |
12 |
|
R9 |
[2-sc inc, sc × 5] × 2 | 14 |
|
R10 |
[2-sc inc, sc × 6] × 2 | 16 |
|
R11 |
[2-sc inc, sc × 3] × 4 | 20 |
|
R12 |
[2-sc inc, sc × 3] × 5 | 25 |
Leave long tail. Stuff the tail and attach it to the back of the body. Attach it to cover R8 at the top and R14 at the bottom. Sew it as seamlessly as possible so it looks like it’s part of the cube body.

Pinch two rows together when sewing as indicated by the arrow to get a curved tail.

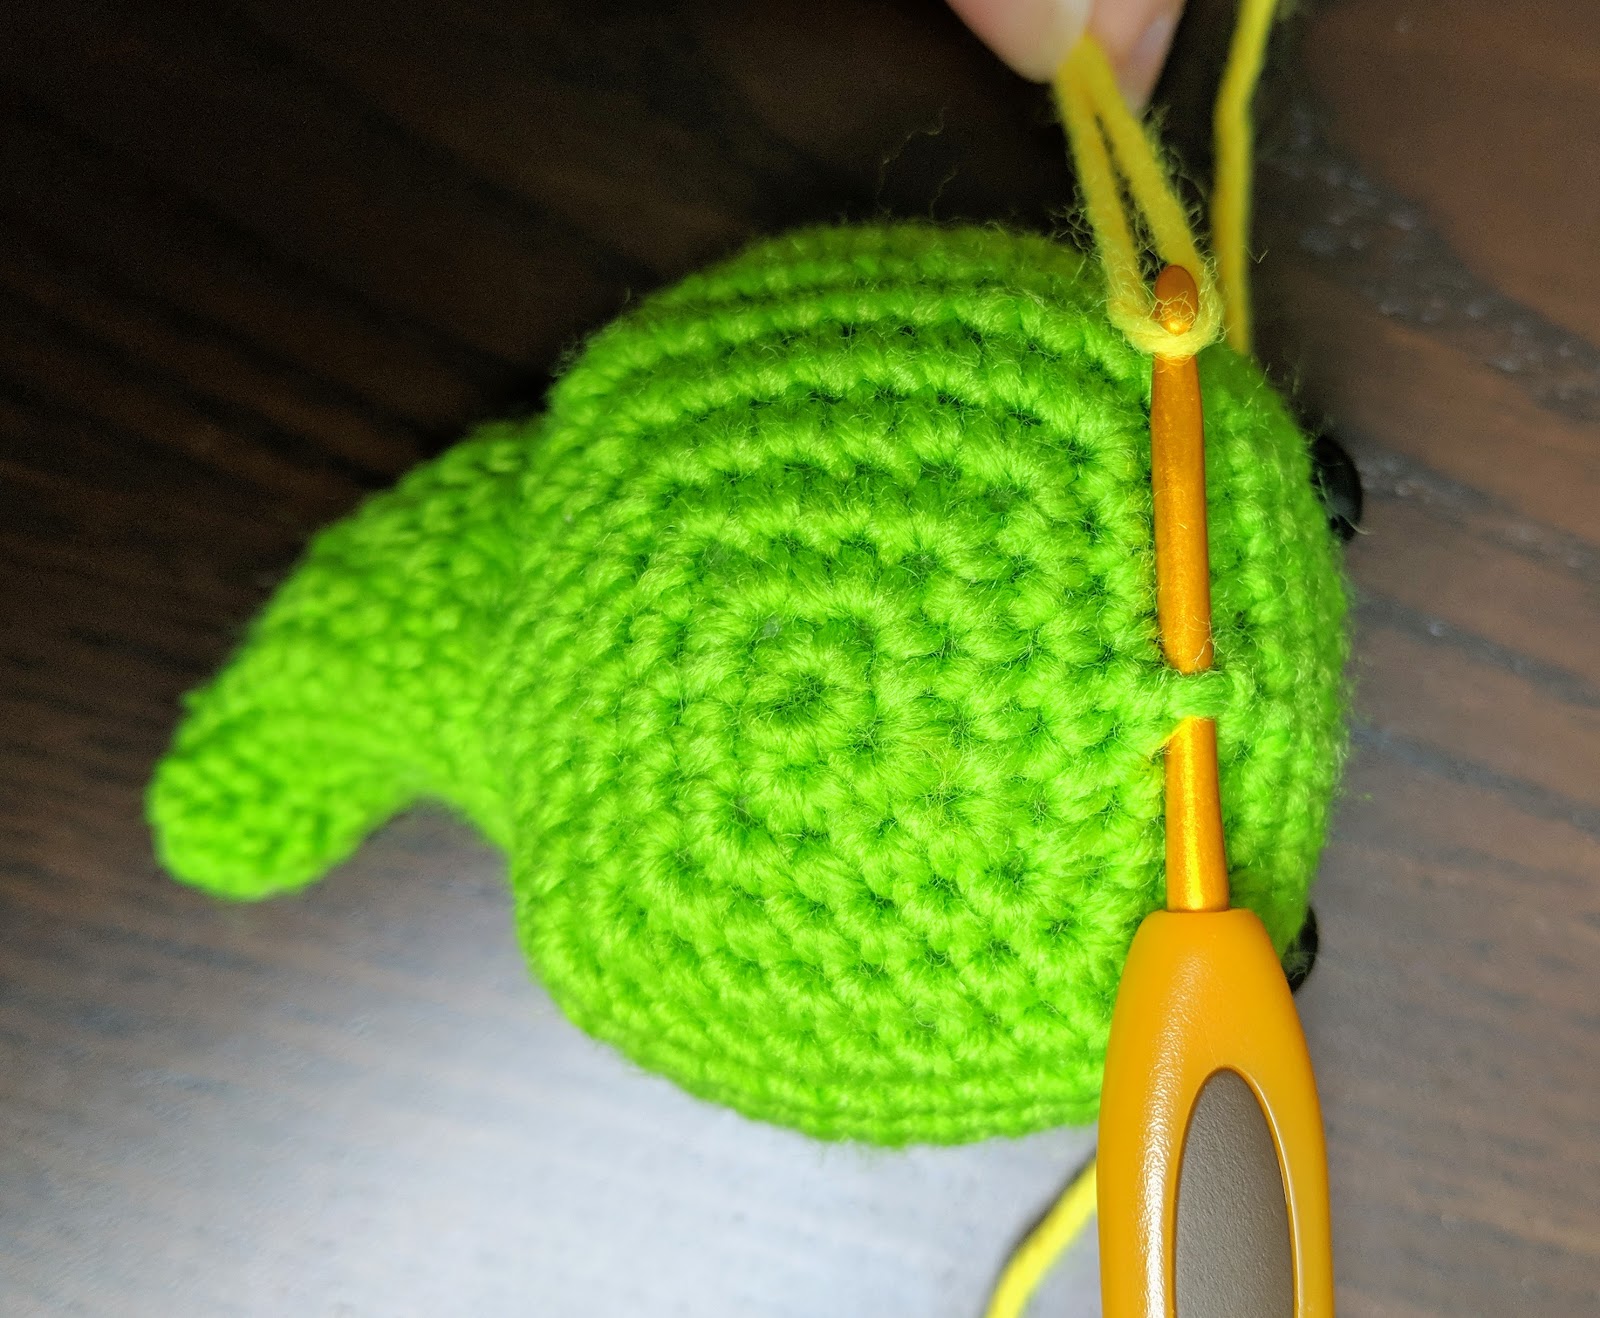
Scales
Insert hook between R4 and R5 at the top of the head centering. Use contrasting color yarn for the following steps and try to work the short end of the yarn into it while you do it to hide it. Use the loops between rows as if they are sc loops to stitch into: (pictures of steps on the left)
ch × 2, [(dc, tr, dc) in same loop, sc, sl st] x 3, [(hdc, dc, hdc) in same loop, sc, sl st] x 3, (sc, hdc, sc) in same loop, sc, sl st.
Finish off then use a sewing needle to hide the end of the yarn into the body and cut the extra

Fins (Make 2)
|
Row # |
Instructions |
Sts |
|
R1 |
2-sc MC |
2 |
|
R2 |
ch × 2, turn, hdc × 2 next sc, hdc × 2 next sc, ch |
4 |
Finish off, use a sewing needle to sew the end along the edge to don’t pull the yarn too much to keep the Fin end looking pointy.
Assembly

- Attach stuffed legs to the bottom of the dragon body.
- Attach Fins to the head between R8 and R9 on each side of the body
- If you want a tongue, cut some pink or red felt and glue it one row below the eyes
Now you are all done!
 Subscribe to my blog to get updates every time I publish a new pattern or tutorial! You can also follow me on Instagram to watch the daily adventures of my critters.
Please use #craftybunnybun to tag your work. I create these patterns because I enjoy seeing your recreations of them :)
![]() Licensed under Creative Commons Attribution-ShareAlike 4.0.
Licensed under Creative Commons Attribution-ShareAlike 4.0.
You are also allowed to sell anything you create using this pattern as long as you clearly credit CraftyBunnyBun for the pattern design.