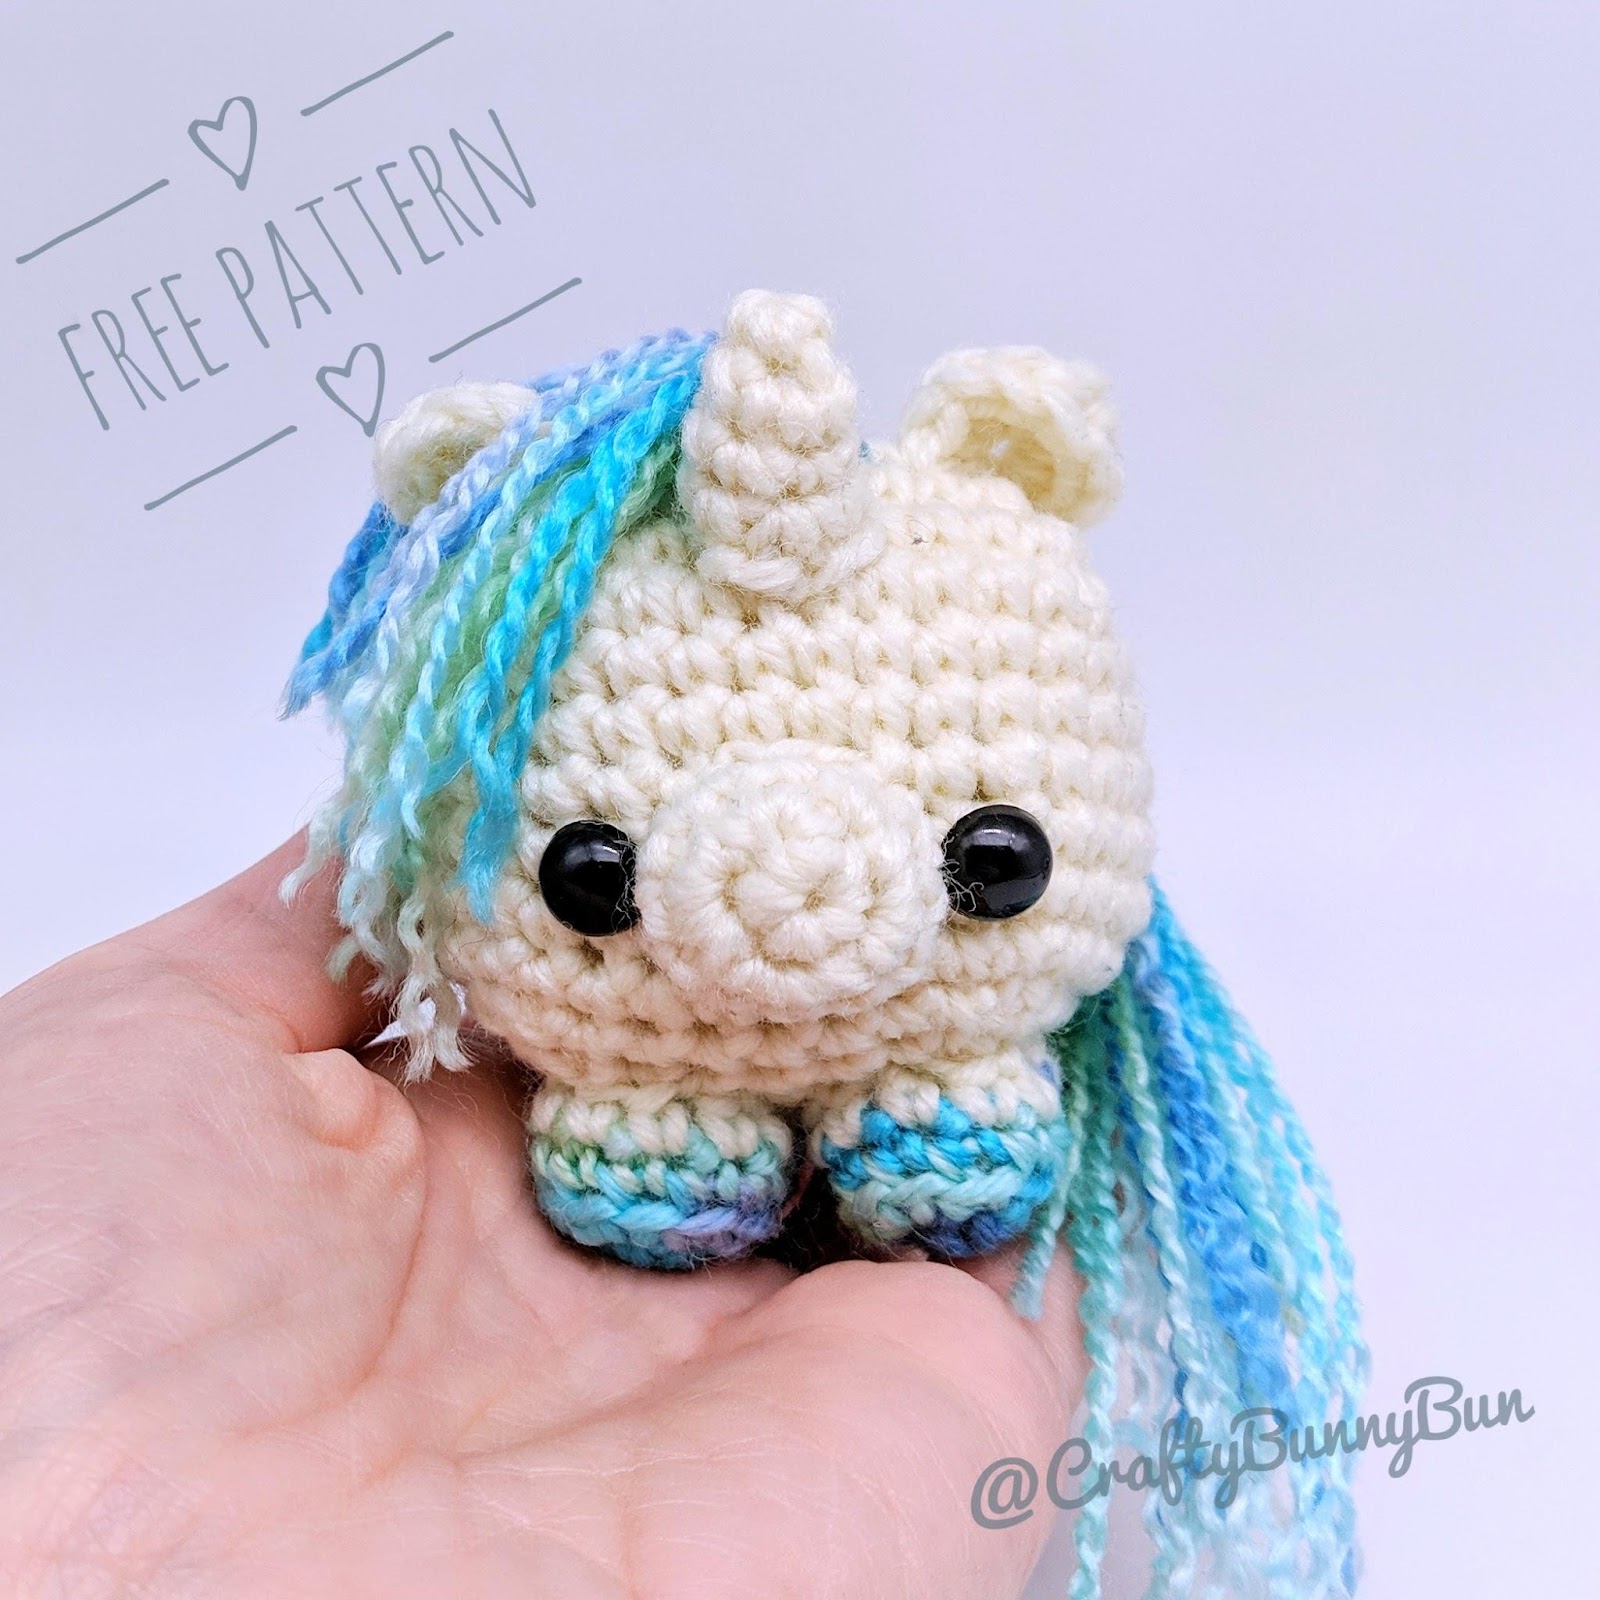
Fabulous, adorable, magical and a free amigurumi pattern to boot! It’s also an amazing excuse to use some of the colorful yarn scraps that you've been wanting to use ;)
This pattern has  on Ravelry.
Inspired by the talented @beliocrochet’s modification on the cube pattern.
Material
3mm crochet hook
- DK yarn in white
- DK yarn in colorful yarn of choice (can be a solid color or a blend). Here is the yarn blend I used.
- 8mm safety eyes
- Tapestry needle
- Stuffing
For the baby version:
- 2mm hook
- Baby or 4ply yarn instead of DK
- 6mm safety eyes
Abbreviations (US)
- MC: magic circle/ring
- st: stitch
- 2-sc inc: 2 sc in next stitch (increase by 1)
- 3-sc inc: 3 sc in next stitch (increase by 2)
- sc2tog: 2 sc together (decrease by 1)
- sc3tog: 3 sc together (decrease by 2)
- dc: double crochet
- hdc: half double crochet
- ch: Chain
Instructions
This pattern is made in a spiral of continuous rounds
Body (make 1)
|
Row # |
Instructions |
Sts |
|
R1 |
4-sc MC |
4 |
|
R2 |
3-sc inc × 4 |
12 |
|
R3 |
sc, 3-sc inc, [sc × 2, 3-sc inc] × 3, sc |
20 |
|
R4 |
sc × 2, 3-sc inc, [sc × 4, 3-sc inc] × 3, sc × 2 |
28 |
|
R5 |
sc × 3, 3-sc inc, [sc × 6, 3-sc inc] × 3, sc × 3 |
36 |
|
R6 |
sc × 4, 3-sc inc, [sc × 8, 3-sc inc] × 3, sc × 4 |
44 |
|
R7 |
sc × 5, sc2tog, [sc × 9, sc2tog] × 3, sc × 4 |
40 |
|
R8-13 |
sc × 40 |
40 |
|
R14 |
sc × 4, sc3tog, [sc × 7, sc3tog] × 3, sc × 3 |
32 |
|
R15 |
sc × 3, sc3tog, [sc × 5, sc3tog] × 3, sc × 2 |
24 |
|
Place the eyes between R11 and R12 with 5-6 stitch holes between them. See pictures for reference. Stuff well! |
||
|
R16 |
sc × 2, sc3tog, [sc × 3, sc3tog] × 3, sc |
16 |
|
R17 |
[sc, sc3tog] × 4 |
8 |
Finish off, sew the ends together to close the gap with the tapestry needle.

Important tip for any amigurumi you make:
Shape the stuffed body by pressing firmly on its sides to resemble the shape you are trying to achieve. Stuffed amigurumi shapes are like a rubbery piece of clay that can actually be shaped quite a bit! Always take advantage of that fact.

Snout (make 1)
|
Row # |
Instructions |
Sts |
|
R1 |
4-sc MC |
4 |
|
R2 |
3-sc inc × 4 |
12 |
|
R3 |
sc × 12 |
12 |
Do one slip stitch at the end, then finish off. Leave long tail. Stuff
| Row# | Instructions | Sts |
| Start with colored Yarn | ||
| R1 | 5-sc MC | 5 |
| R2 | 2-sc inc × 5 | 10 |
| R3 | In back loop only: sc × 10 (switch to white in the last sc) | 10 |
| R4 | (continue with white) in both loops as usual: sc × 10 | 10 |
Do one slip stitch at the end, then finish off. Leave long tail. Stuff

Horn (make 1)
|
Row # |
Instructions |
Sts |
|
R1 |
3-sc MC |
3 |
|
R2 |
2-sc inc × 3 |
6 |
|
R3 |
sc × 6 |
6 |
|
R4 |
[2-sc inc, sc, sc] × 2 |
8 |
Finish off leaving long tail. Stuff.

Ears (make 2)
|
Row # |
Instructions |
Sts |
|
R1 |
Start a magic ring/circle and do the following stitches inside it: sc × 2, dhc × 2, dc, dhc × 2, sc × 2 |
9 |
Pull the ring string, finish off. Leave long tail. The picture below shows the ring before and after pulling the ring string to shape a leaf like little ear.

Assembly
Using the tapestry needle:
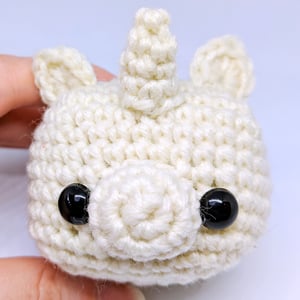
- Attach the snout between the eyes. I attached mine to cover R10, R11 and R12 between the eyes as per the picture.
- Attach the horn at the front. I attached it to cover R6 and R7 as per the picture.

- Attach the ears to each side closer to the front than the back of the body. I sewed one end of the ears on R4 and the other on R5. Sew in the short end of the yarn in each ear (the tail from the magic circle) to hide it. See picture for reference.

- Attach the stuffed legs to the bottom of the body as per the picture
Hair
Now it's time to attach the glorious unicorn hair :)

Cut several pieces of yarn to be a little more than double the length you want the unicorn hair to be. Let's say you want the unicorn hair to be 5cm long, in that case you would want to cut the yarn to be say 12cm long. It doesn't have to be super accurate. In fact it is more natural if they are not all exactly the same length. You can always go for longer and give the unicorn a nice cute hair cut ;)
You'll need more cut pieces than what I have in the the side picture. I think I ended up with about 18 pieces but it's up to you.

Fold the string of yarn on itself by half. Attach the yarn string by making a slip stitch with it. As per the picture. If you prefer a video instruction check out this tutorial.


If you want straight hair, brush the strands with a pet brush like in the picture. This step is not necessary: I also followed that with a flat iron over the strands for a little more straight hair (WARNING, I haven't tested the flat iron method on different yarns, the flat iron could get damaged if the yarn wasn't from a heat resistant material. Only try at your own risk and always do a test strand beforehand)
See the following pictures for reference on attaching the hair. The tail is attached between R11 and R12 by grouping 5-6 strands of yarn and doing a slip stitch with all of them together.
.jpg "AF1QipNm1D8uwuYlByB9lcVlwpAZV8PG2gL-KBEC22V6=w2045-h2048 (1)")

.jpg "AF1QipNrgdAxbl_3er9Duo_M48xcOLNMozdBygtg-BPQ=w2044-h2048 (1)")