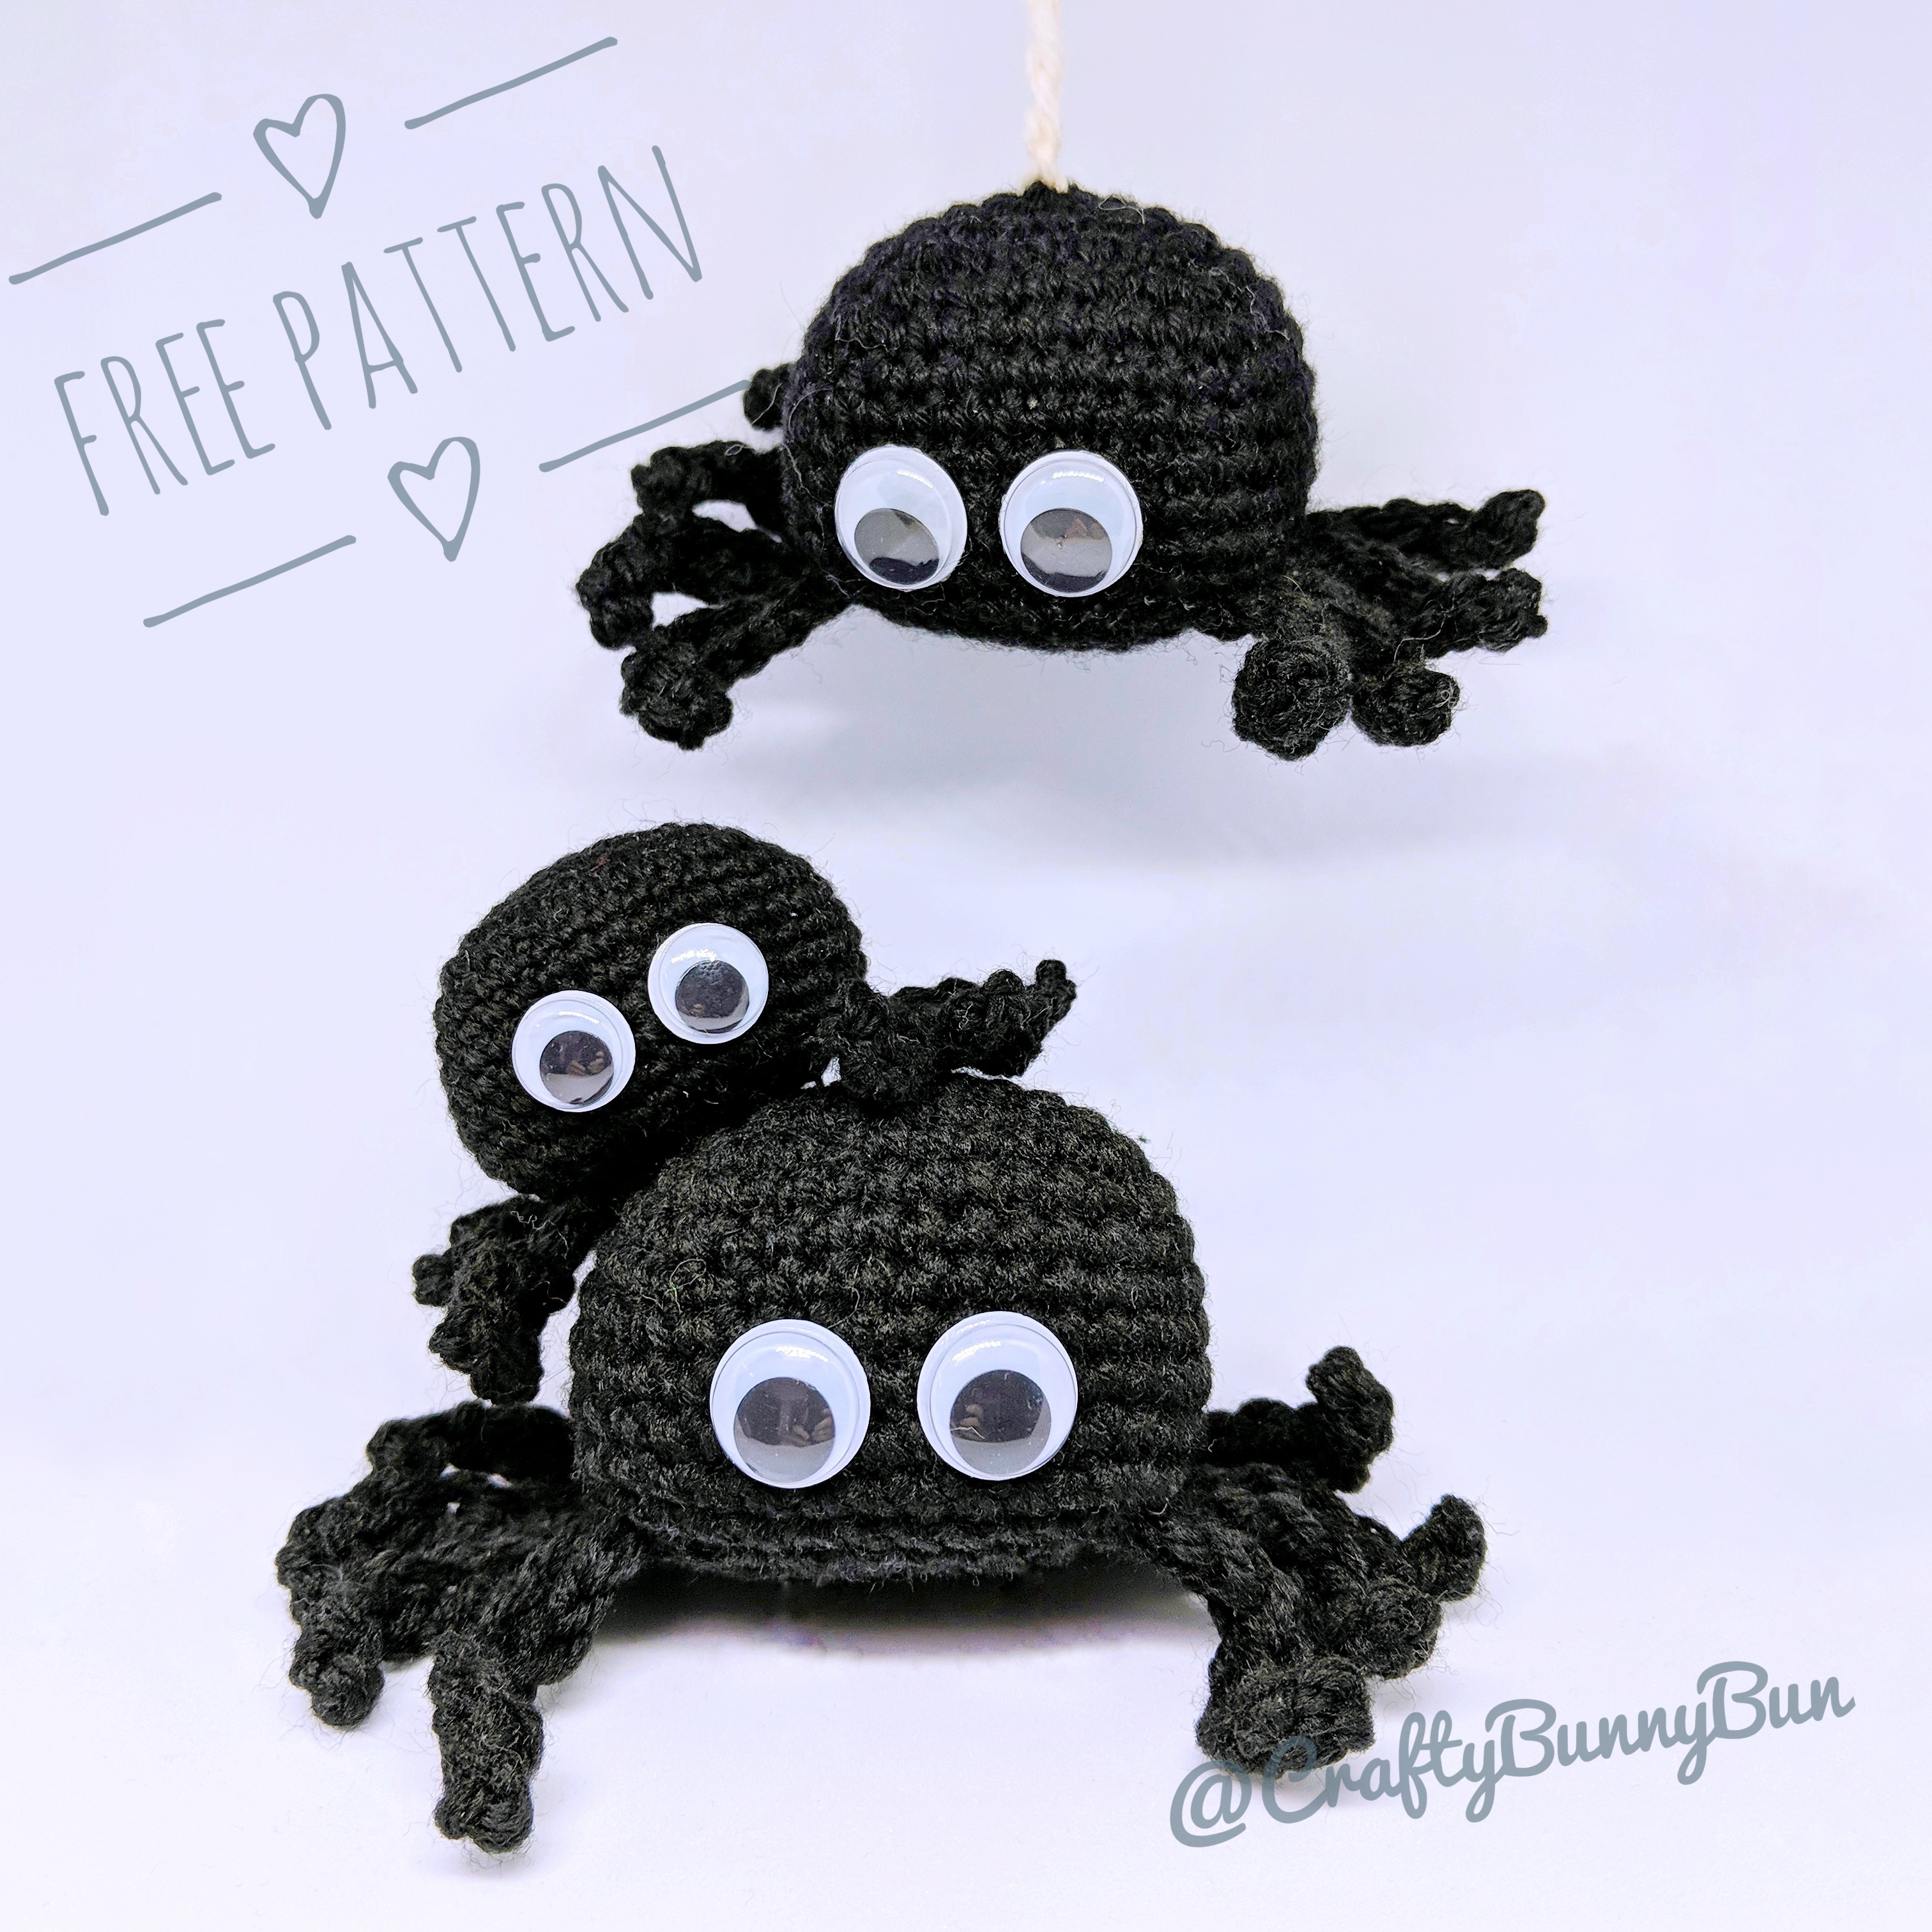
This is probably my easiest and quickest pattern to make. It requires practically no sewing. It is super fun to make.
It is just in time to create as many as you can before Halloween. You can create a spider web to hang them around the house or just have them chill around the house in random areas ;)
This pattern has  on Ravelry.
Material
For the regular spider:
- 3mm crochet hook
- DK yarn in black
- Optional: A little bit of white yarn for the spider web chain
- Googly eyes
If you are creating the small baby spider:
- 2mm crochet hook
- 4 ply/baby/fine yarn in black
- Optional: A little bit of white yarn for the spider web chain
- Small googly eyes
Abbreviations (US)
- MC: magic circle
- 2-sc inc: 2 sc in next st (increase by 1)
- 3-sc inc: 3 sc in next st (increase by 2)
- sc2tog: 2 sc together (decrease by 1)
- sc3tog: 3 sc together (decrease by 2)
- sl st: Slip stitch
- ch: Chain
Instructions
This pattern is made in a spiral of continuous rounds
Body (make 1)
|
Row # |
Instructions |
Sts |
|
R1 |
4-sc MC |
4 |
|
R2 |
3-sc inc × 4 |
12 |
|
R3 |
sc, 3-sc inc, [sc × 2, 3-sc inc] × 3, sc |
20 |
|
R4 |
sc × 2, 3-sc inc, [sc × 4, 3-sc inc] × 3, sc × 2 |
28 |
|
R5 |
sc × 3, 3-sc inc, [sc × 6, 3-sc inc] × 3, sc × 3 |
36 |
|
R6 |
sc × 4, 3-sc inc, [sc × 8, 3-sc inc] × 3, sc × 4 |
44 |
|
R7 |
sc × 5, sc2tog, [sc × 9, sc2tog] × 3, sc × 4 |
40 |
|
R8-14 |
sc × 40 |
40 |
|
R15 |
sc × 4, sc3tog, [sc × 7, sc3tog] × 3, sc × 3 |
32 |
|
R16 |
sc × 3, sc3tog, [sc × 5, sc3tog] × 3, sc × 2 |
24 |
|
Start stuffing the body well |
||
|
R17 |
sc × 2, sc3tog, [sc × 3, sc3tog] × 3, sc |
16 |
|
R18 |
[sc, sc3tog] × 4 |
8 |
Finish off, sew the ends together to close the gap. The spider body should look like a rounded cube. If it doesn’t try to shape it like a cube using your hand.
Tip: always shape your stuffed crochet to best resemble the shape you are creating.

Legs
The spider legs are crocheted into the body of the spider directly, no sewing needed except to hide the yarn tails. The loops between each row and the next on the crocheted body of the spider can be considered stitches to crochet into.
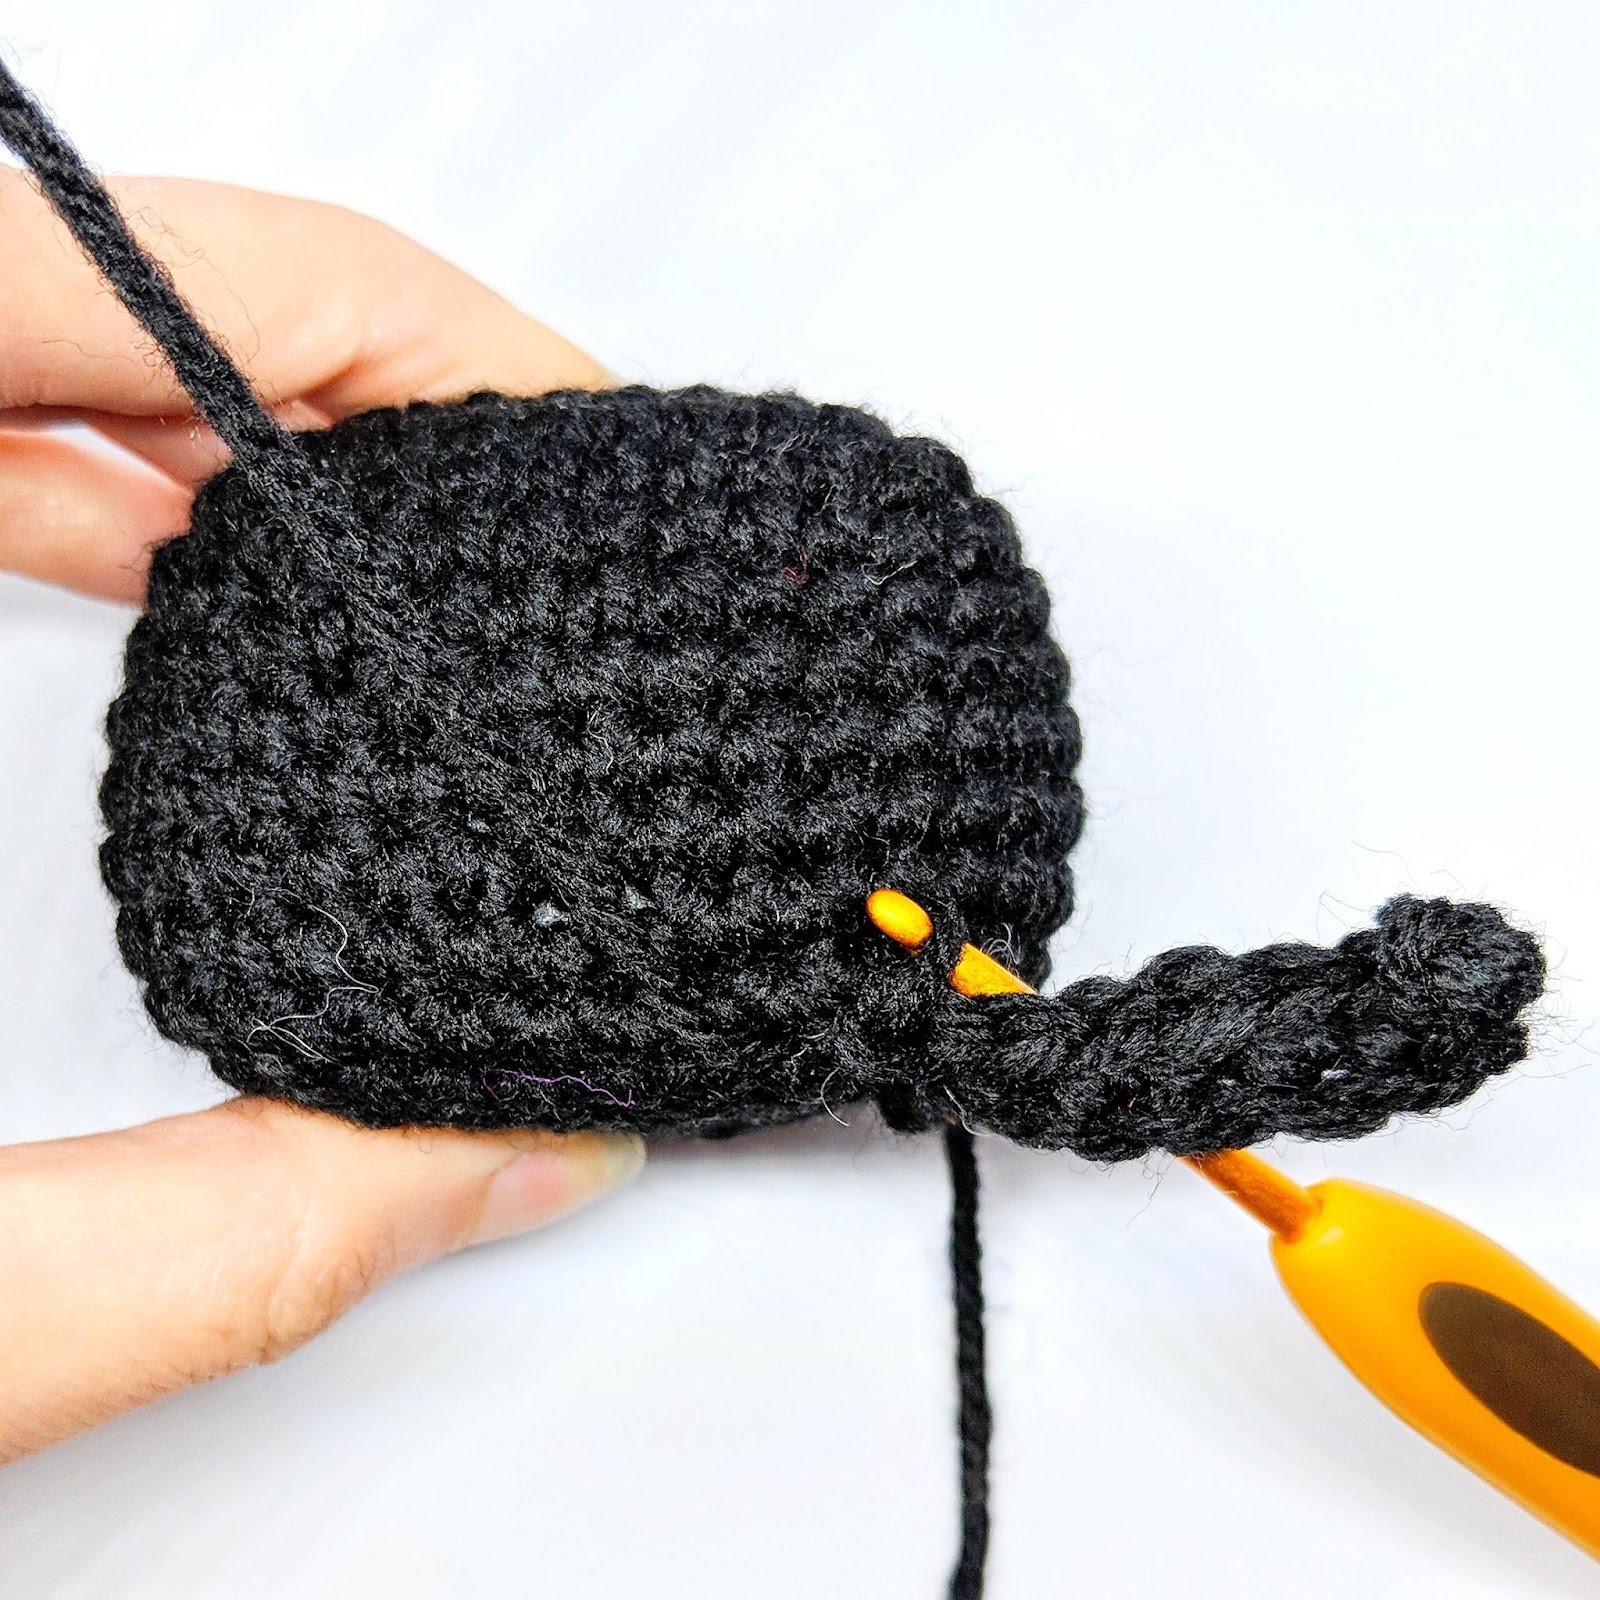
Pick a side from the body cube. Any side will do (a side, not the top of bottom of the cube). Insert the crochet hook into the first loop in cube side between R13 and R14. See picture for reference. The placement doesn’t have to be super exact.

Chain x 8, then work sc x 7 into the chain you just created starting from the second chain from the hook. Once you reach the body, skip one loop then slip st into the second loop from where you started. Repeat 3 more times to create 4 legs on one side of the body Finish off leaving a tail that can be sewed inside to hide.
Now move to the opposite side of the body cube. Insert the crochet hook into the first loop in cube side between R13 and R14. (Important) See the picture below for reference. The spider is laying on its back in the picture. The purple dots represent the starting point for each group of legs. i.e. the point where the hook is inserted. Once you got the hook into the right loop, repeat the blue highlighted steps above to create 4 more legs to have a total of 8 legs. The direction of crocheting is important here as the legs curve is determined by the direction and the spider will look cuter if the legs are curving toward its face.

Use a sewing needle to hide the the yarn tails.
Stretch each legs so they are more spread out. You may need to repeat the stretching few times.
Final Touches
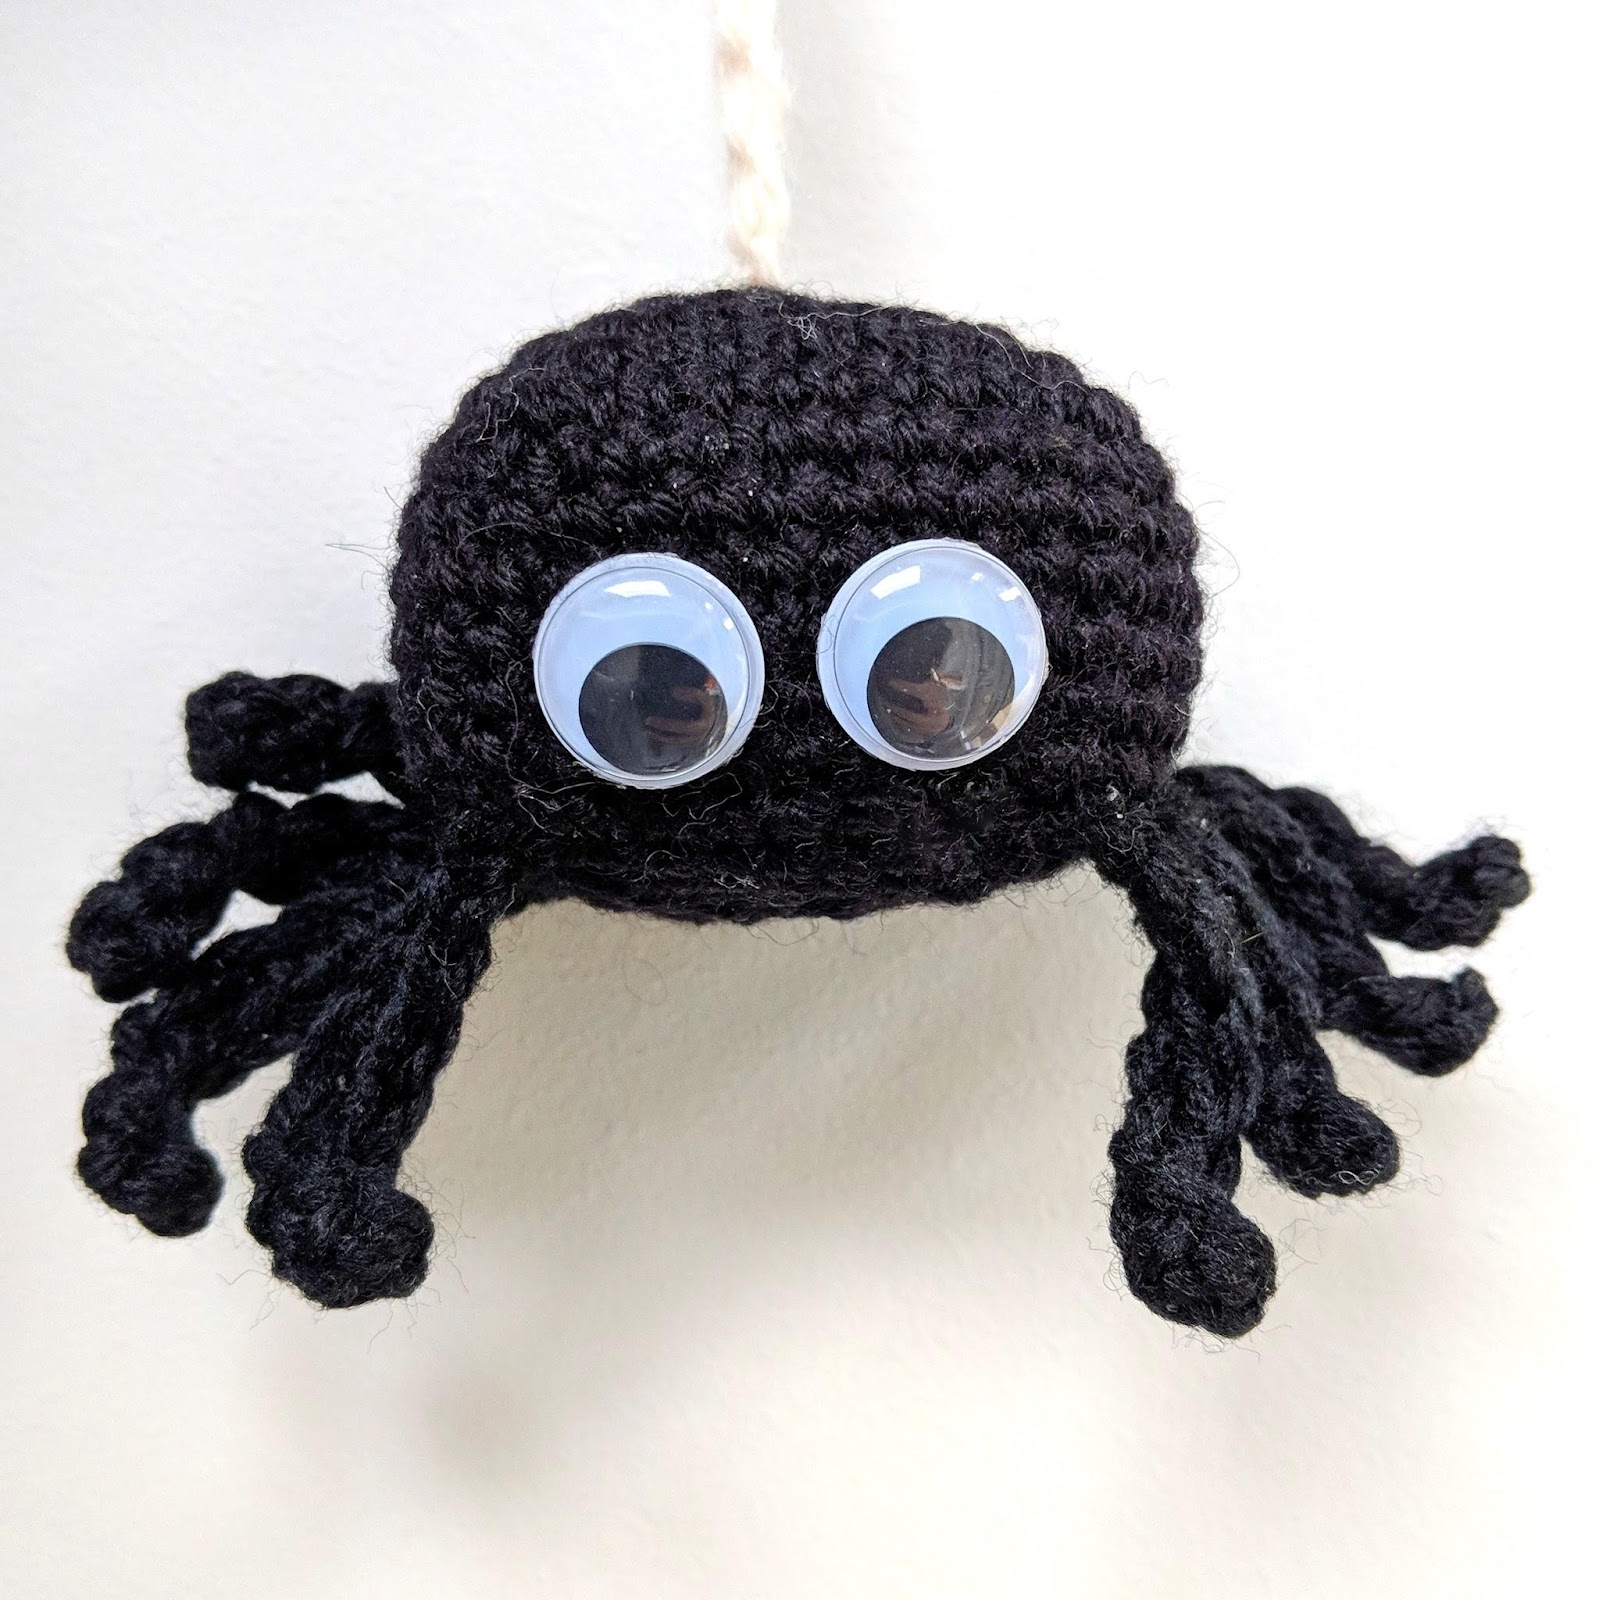
Time to place the googly eyes, pick the side that the legs are curving toward to be the face. Glue the googly eyes lower on the face. Somewhere between R10-R12 is a good place. See picture for reference: